Inhaltsverzeichnis
Installing the PDF Creator
Install PDF Creator

The PDF Creator can be installed using the following macro:
If you click on Standard installation in the following dialogue, the PDF Creator will be installed directly without any further queries.
Set settings
Create profile
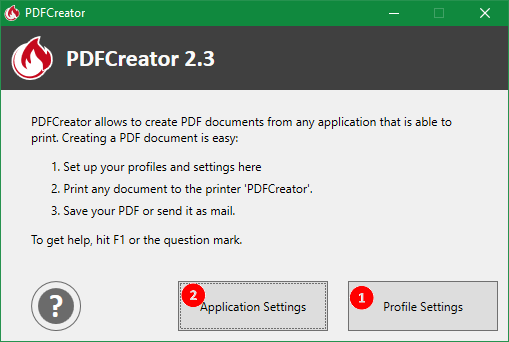
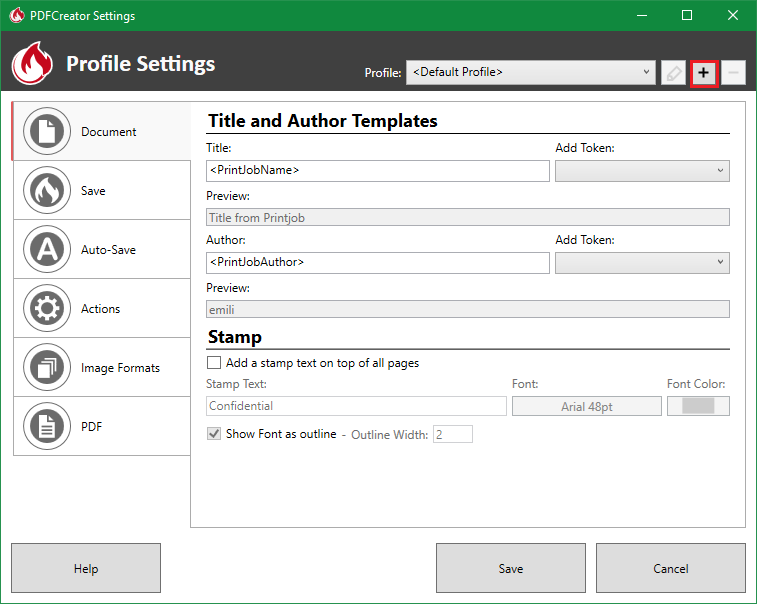
Via the + button to create a new profile.
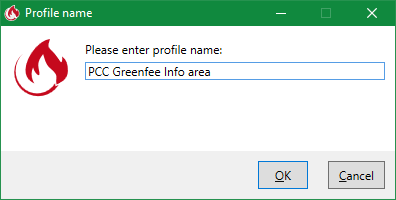
Enter the profile name PCC Greenfee info area and press OK confirm
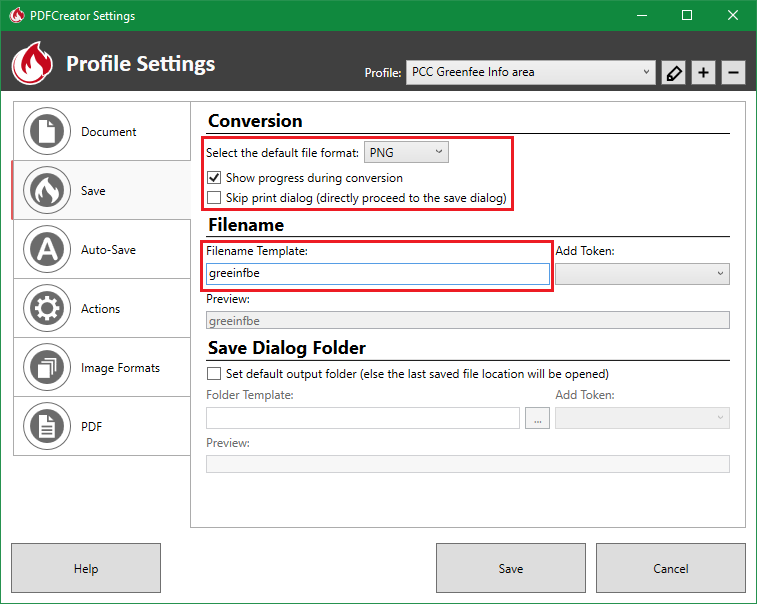
Under the tab Save tab, apply the settings as shown in the following image.
- File name template: greeinfbe
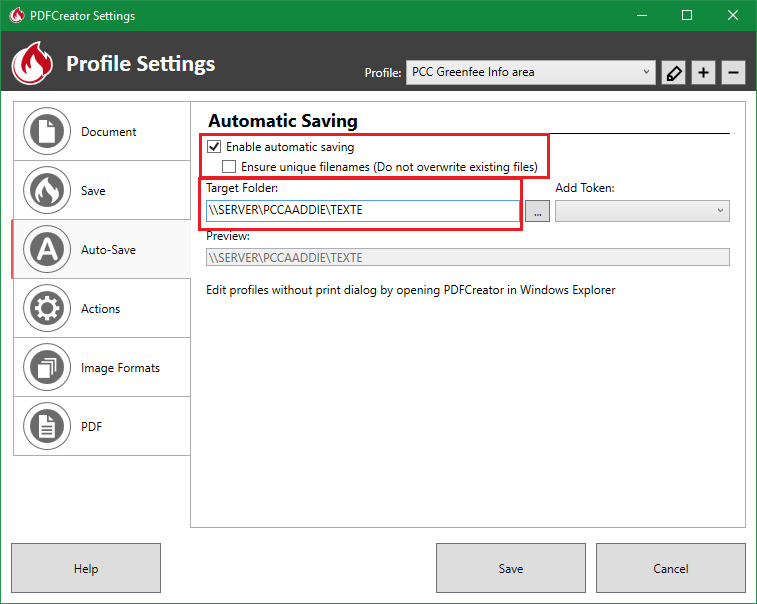
Under the tab Automatic saving tab, apply the settings as shown in the following image.
- Target folder: This path can be set using the macro textpath macro
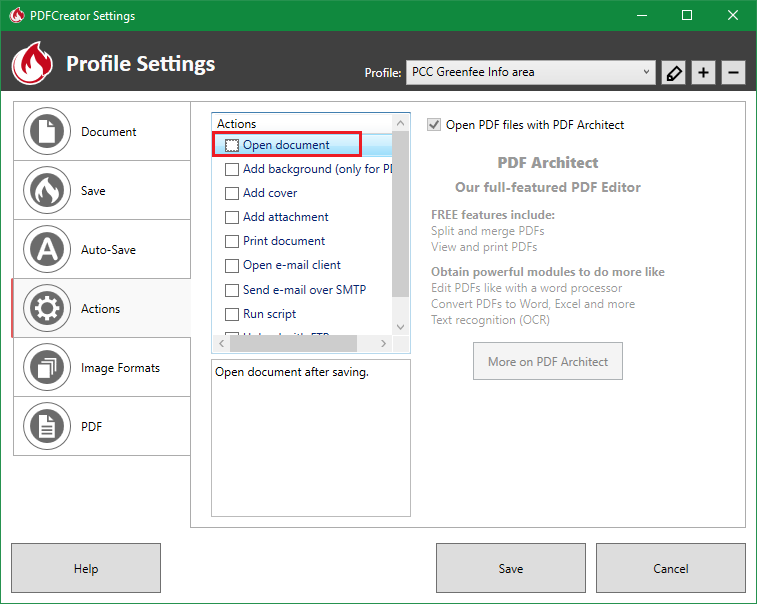
Under the tab Actions tab, tick the Open document tab.
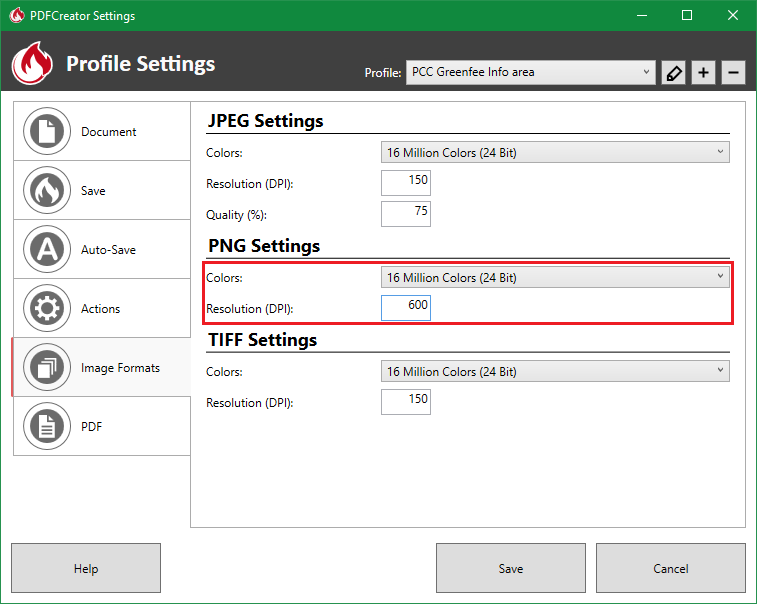
Under the tab Image formats tab, apply the settings as shown in the following image.
Close the dialogue via Save to exit the dialogue.
Create printer
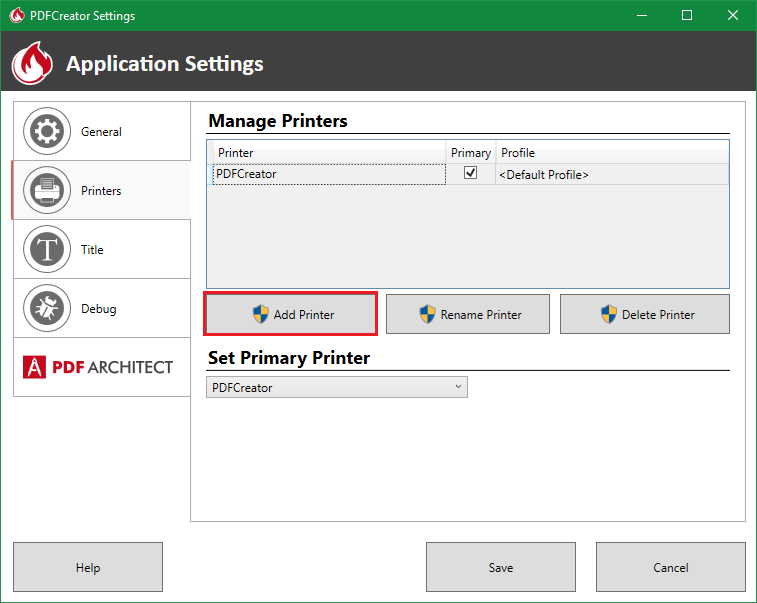
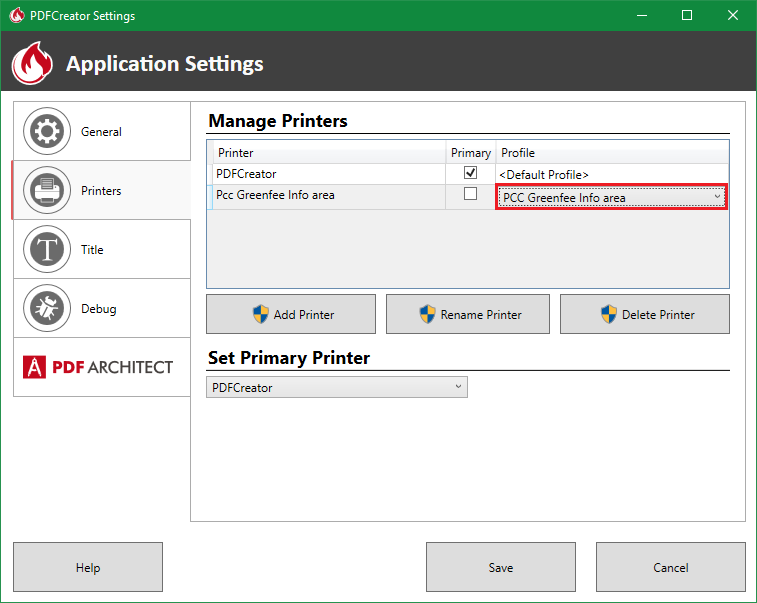
Under the tab Printer tab, click on the Add printer button.
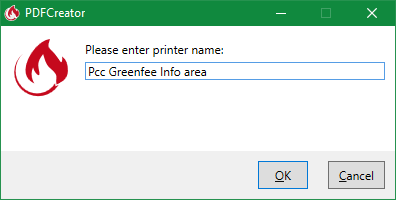
Give the printer the name PCC Greenfee info area to the printer.
When creating a new printer, the previously created profile PCC Greenfee info area profile created earlier.
Close the dialogue via Save to exit the dialogue.
From now on, printouts to this printer should appear in the PC CADDIE Greenfee info area window.
