Inhaltsverzeichnis
Define Timetable Views
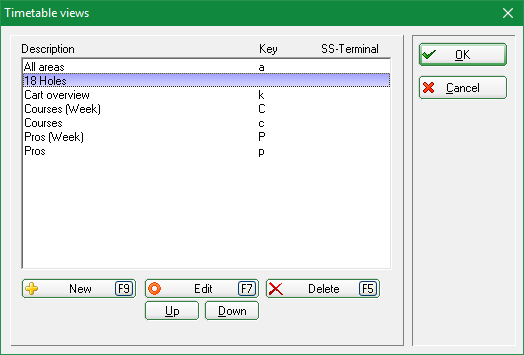
You access this function by selecting Timetable/Configure Timetable-Views in the main menu. You can press V as a shortcut, if you have opened the timetable and it is active:
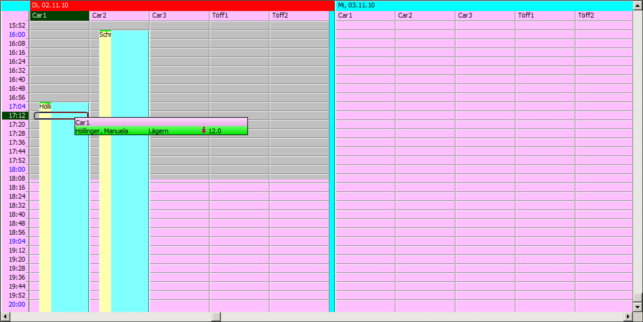
Different Timetable views can be defined, which allow you to control your viewing angle for the timetable itself.

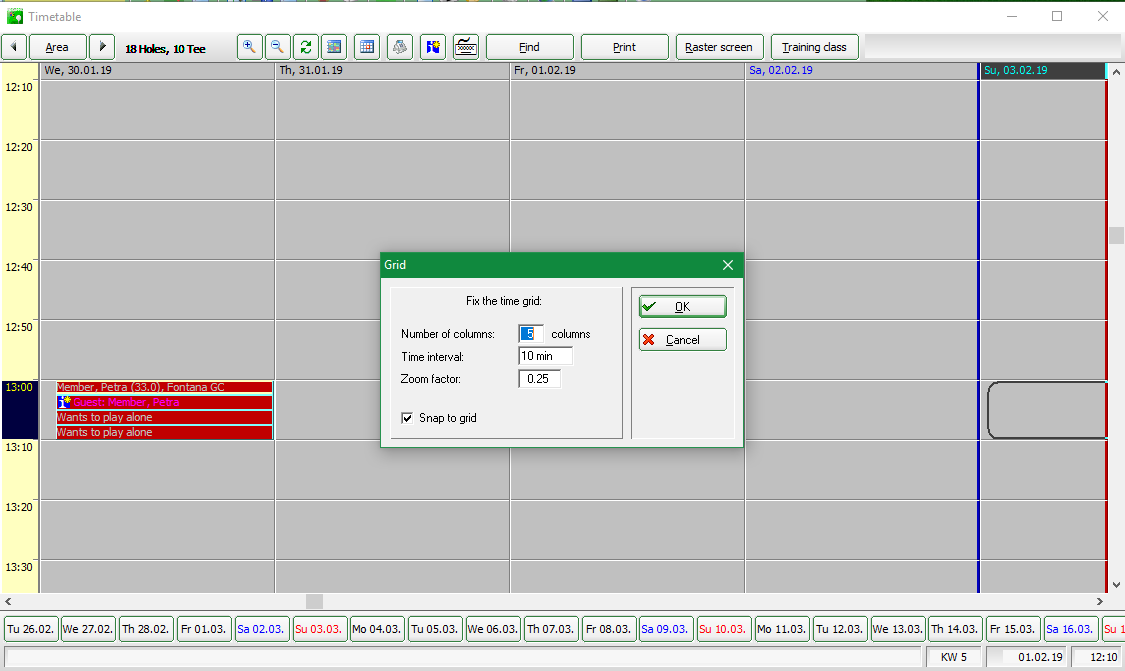
Zoom factor has to be set at 0.25, so the online icons are visible (telling you who booked online)

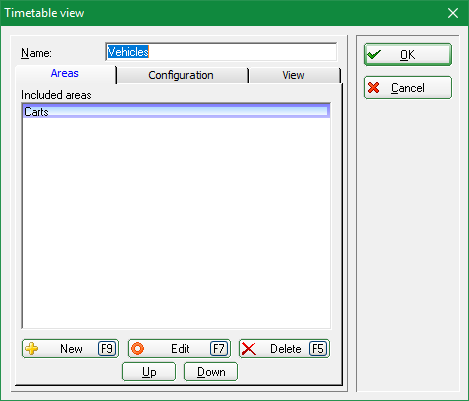
These and other questions can be easily answered with the Views. The views give different PC CADDIE users in your club an individual Timetable design and thus efficiently work in the timetable. Click New (F9) to open a new view:

We will show below how to do it: First, enter a suitable Name for the View, such as “Vehicles”.
HINT: You can directly associate a new Timetable area with a view. Read more about this process under Editing areas.
Areas
Now determine which areas you want to make visible in the timetable. Click New (F9), to add a new field:
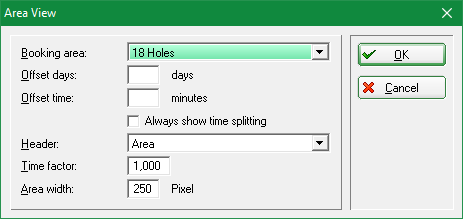
- The offset entries for the days and time shifts the area in the overall view by this period
- If the check-mark is set for the time division, the column with the time is not only displayed on the far left, but also in front of each column (this helps if the areas have different „from“ „to“ times)
- Enter the desired width for the column for the 18-hole place. This means that all other columns adjust their width to the available space.
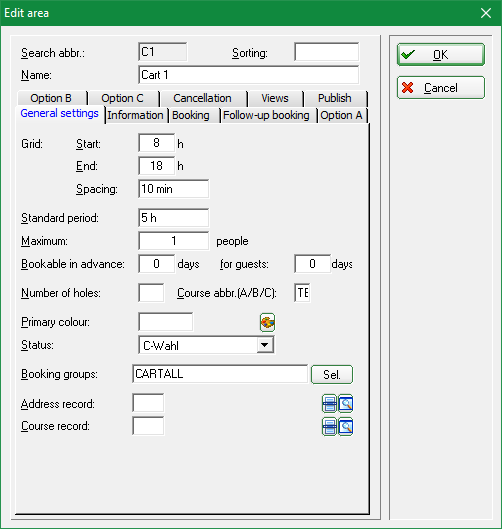
- In our example, all carts belong to the CARTALL booking group. Since we want to have all carts displayed, we add the whole group to our view, which saves a lot of work. Confirm with Enter or OK
Repeat the process for all areas that you need. Use Edit(F7) to edit an existing area, Delete (F5) to delete the individual areas. With the buttons higher and lower the order in which the areas are shown in the view can be changed as required.
Configuration
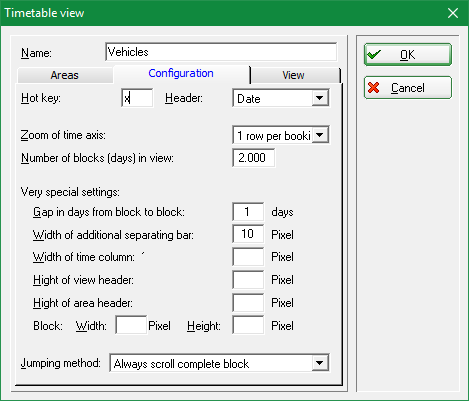
Under Hot key you can enter any key as a shortcut. Please select a meaningful key and especially one that has not been used before (look at Fast working in the Timetable). You will then be able to jump directly into your newly defined view using this key.
| Header | Date means here that the date appears in the header. Define the timetable view with the various factors according to your needs. |
|---|---|
| Zoom-Factor | Specify here how the individual entries should be arranged (individually under each other, two by two next to each other, all of them next to each other, etc.) |
| Number of Blocks (Days) in the View | Define here how many days you want to display in this view side by side.  The more days you have displayed, the narrower the individual columns will become in the view. The more days you have displayed, the narrower the individual columns will become in the view. |
| Very special Settings | Here, detailed adjustments can be made to the layout of the view. |
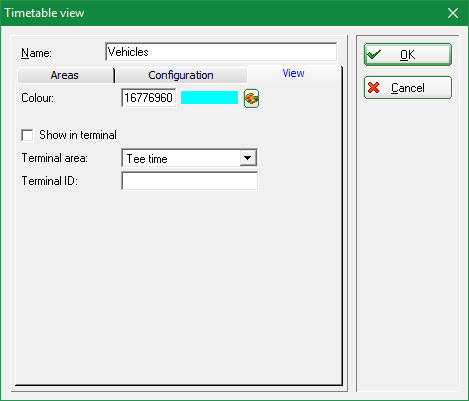
View
- Keine Schlagworte vergeben

