Inhaltsverzeichnis
Automatic contribution allocation

Allocate contributions
Proceed in the following steps:
- Select article
- Edit article if necessary (check)
- Note booking data
- Assign
Select article
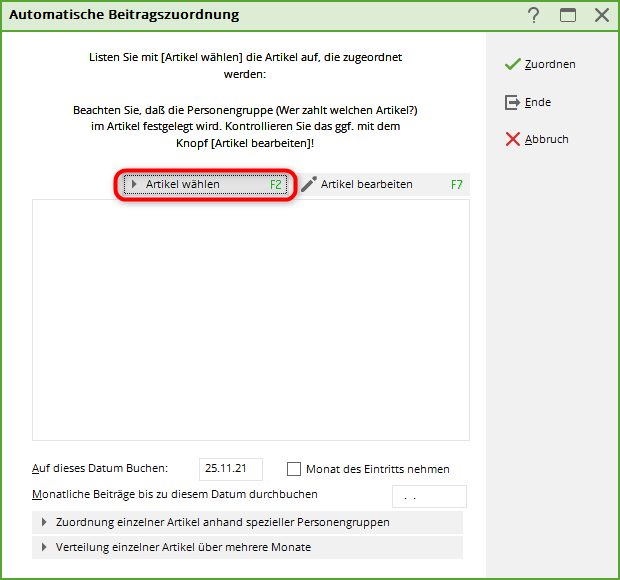
Under Sales/Automatic contribution allocation the following window opens, where in the first step you can select the articles that are to be assigned automatically via Select article to get them.
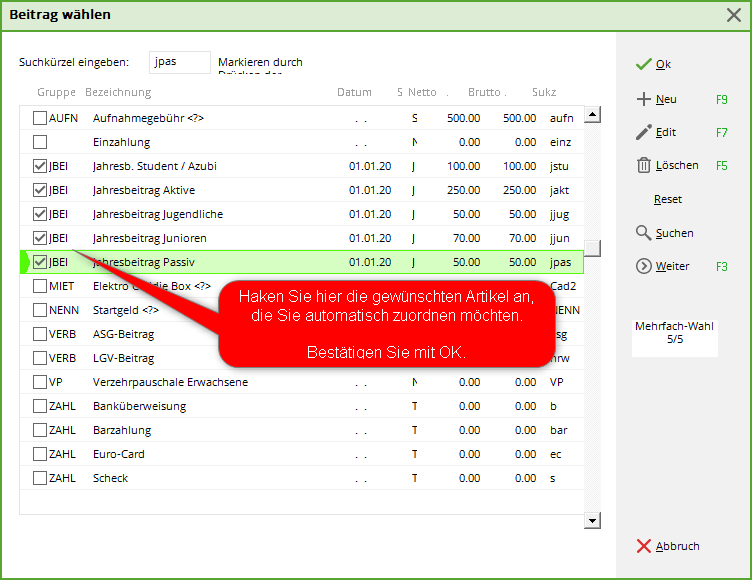
The article list will then open, from which you can choose.
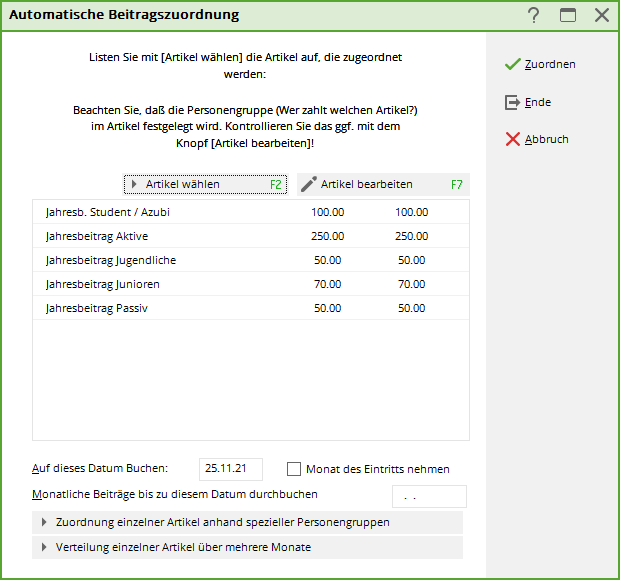
All items selected for the assignment are displayed here:
Check article
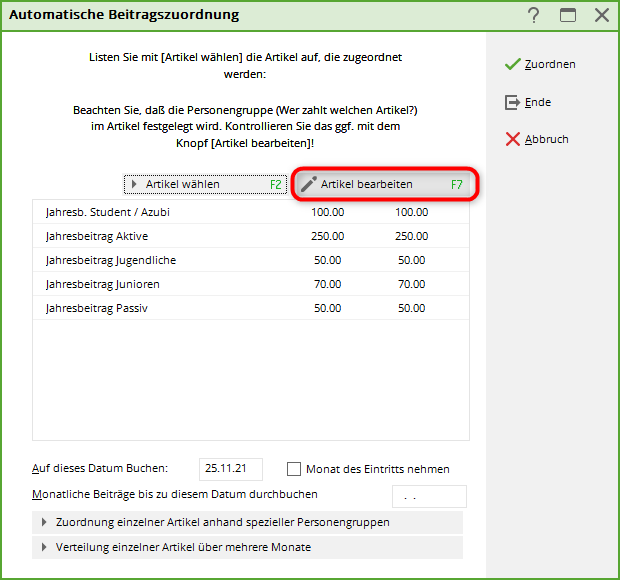
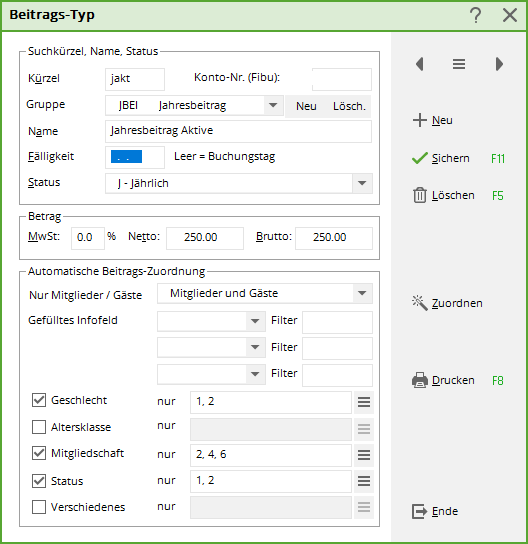
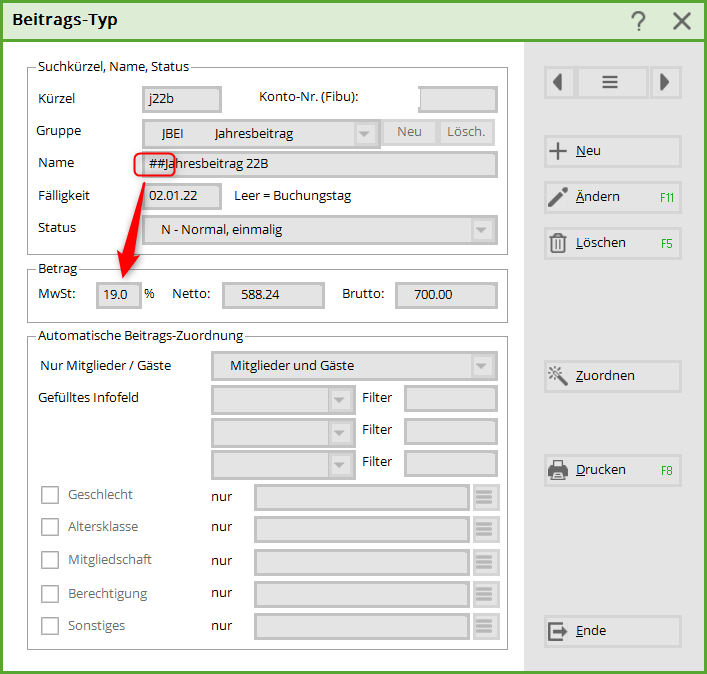
To do this, select the article and click on Article bearbeiten:


| Group | The group must match the item. |
|---|---|
| Name | This name is printed on the invoice. |
| Due date | It makes sense if no due date is entered here. The due date is entered during allocation (post to this date). |
| Status | Select the status according to the item. |
| Amount | The net amount is calculated from the gross amount. |
| Automatic contribution allocation | Check the details very carefully. Less is often more here. Each status should only appear once in an article. The better the settings, the better the result of the allocation. |
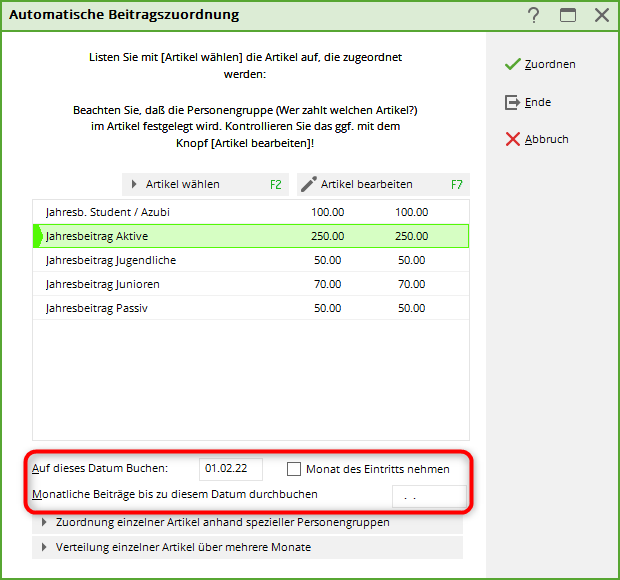
Edit booking data
The posting dates in the articles are not taken into account in the automatic contribution allocation. Enter the date to be posted to here. If the field is empty, the current date is posted to.

Assign
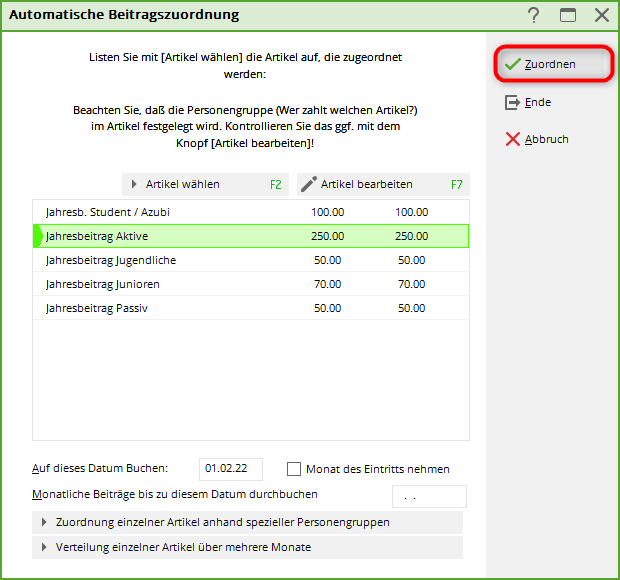
Once all the previous steps have been completed, the allocation can be started with Zuordnen:
PC CADDIE asks again whether you really want to assign, which you can answer with Yes, start to confirm.
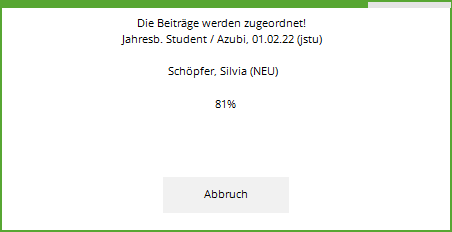
You can follow the assignment live:
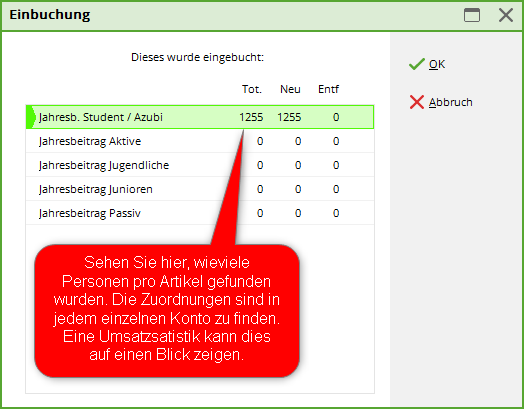
The result of the assignment can be seen in this window.
Checking the assignment
You can use the sales statistics to check the accounts of individual persons for correct allocation: Check with sales statistics
You can also print checklists with the balance list. This has the particular advantage that you can summarise the families: Balance list
Further options
Allocation of instalments
Automatic, monthly instalments
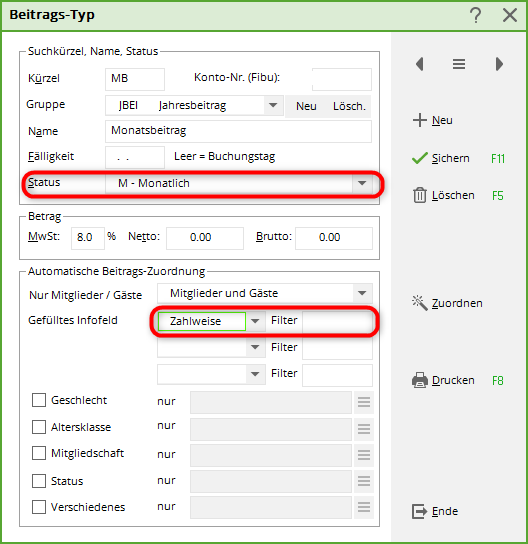
It is possible to automatically assign monthly instalments for annual contributions, such an article can look like this. The „Monthly“ status is important here. This ensures that monthly instalments are assigned in relation to the period entered for the automatic assignment.
The persons entered in the Bank tab with the filter „M“ for monthly will be assigned the item.
Individual instalments
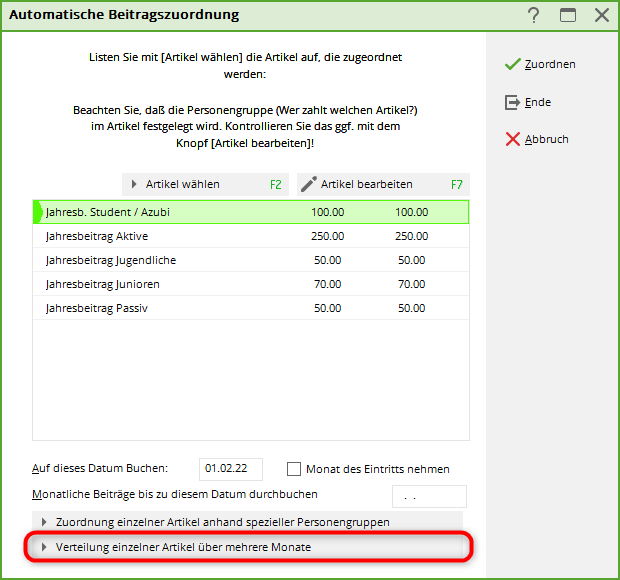
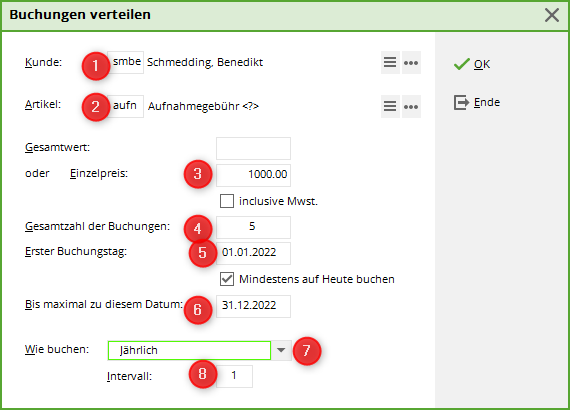
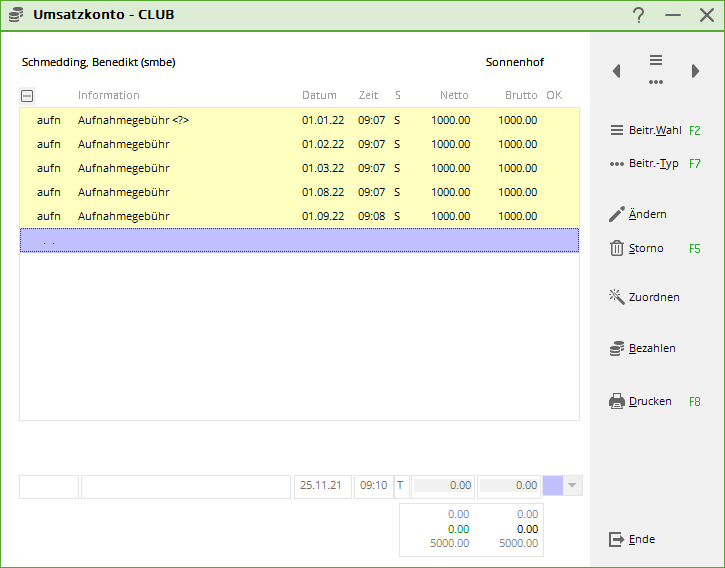
You can use the individual instalment allocation for individual persons, for example, if you agree to pay an admission fee in instalments. Click on Distribution of individual items over several months and select a person. The following window also appears if you have just opened the person. You can start the process via the person's sales account via Assign to start the process.

- Select the customer.
- Select the article for the admission fee.
- Enter the price per instalment here (PC CADDIE calculates the amount of the instalment itself when you enter the total price).
- How often should the instalment be booked?
- If you enter 01.01.11 as the 1st booking date, all subsequent annual instalments will be booked on 01.01.
- The date must be sufficient for the number of bookings.
- Here you decide whether you want to book the instalment annually or monthly, for example.
- 1 means that in this case every year an instalment will be posted. To book an instalment quarterly, enter „monthly“ with interval „3“.
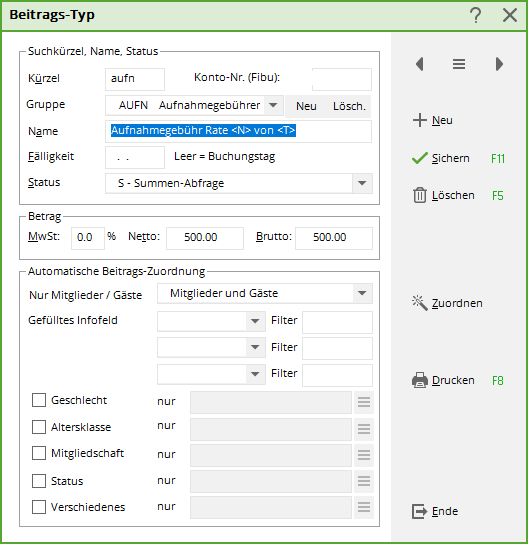
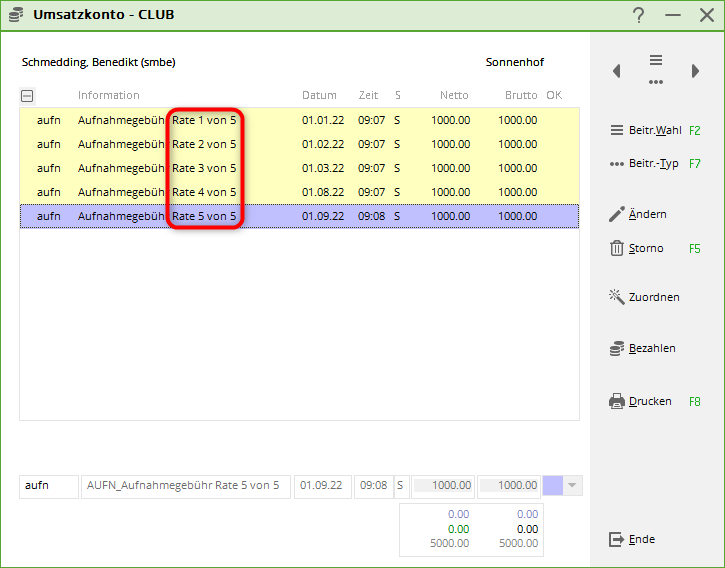
If you want to ensure that the following information is included in the posted instalments, you can use these automatic functions in the article:
| <N> | Rate number |
|---|---|
| <T> | Number of instalments |
| <M> | Display of the month e.g. 03 for March |
| <Y> | Year number |

The instalment bookings are then available for future invoice printing.
Allocation of individual items
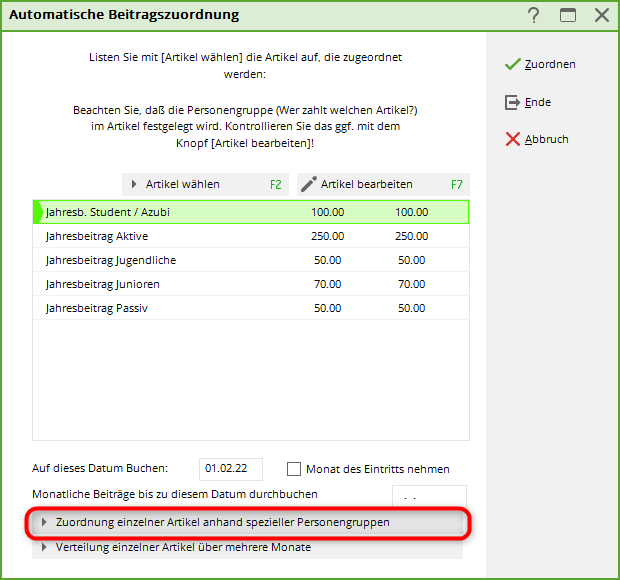
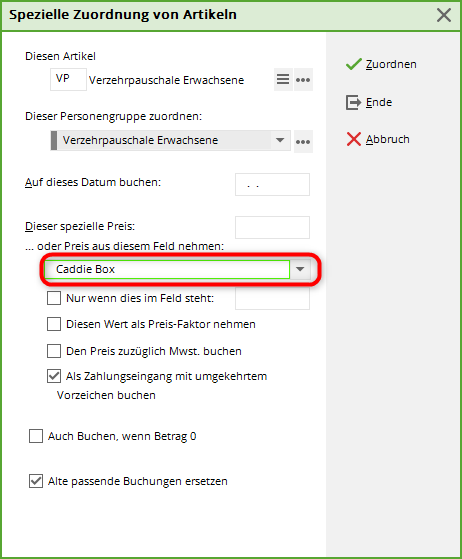
It is possible to allocate items to specific groups of people. Do you have a large number of individual price agreements? You can create a field for this under INFO for the persons and enter the individual prices there: Additional fields of the contacts
For your annual invoice, start the allocation of items as follows:
The following window appears. Enter the additional info field here so that the price can be retrieved from this field.
Automatically assign annually increasing premiums
Please note the following when allocating contributions automatically:
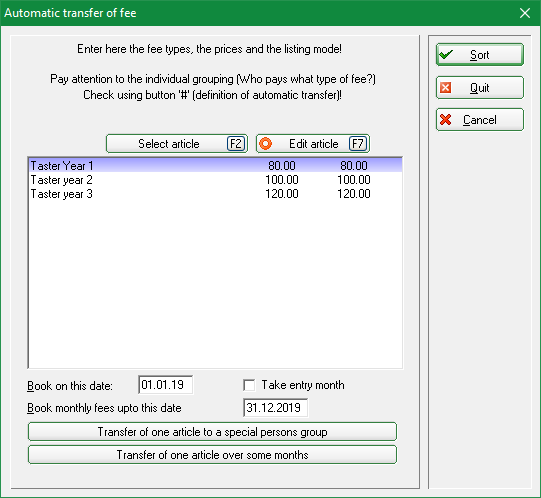
You can see how to create the articles for this here: </ignore>Jährlich Create increasing contributions articles
If you post the contributions per calendar year, enter the date to which the contributions are to be posted and enter the end date, i.e. until the end of the year. This can mean that if you join during the year, e.g. 7 June 2016, the contribution for the first trial year will be posted to the account 7 times. For years 2 and 3, the contribution will be posted 12 times.
However, if you always want to post the contributions for one year after joining, i.e. beyond the turn of the year, you must enter the following.
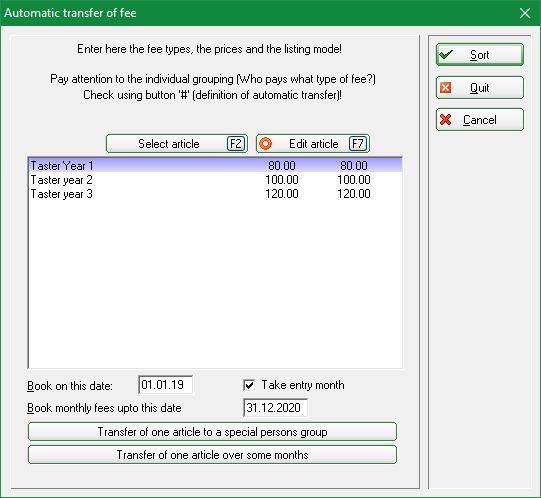
Again, enter the date you want to post to, but now tick the box Take month of entry and extend the date to which you want to post through to the end of the next year. PC CADDIE will post the contribution for 12 months from the month of entry.
However, you should make sure that when listing the items to be assigned, you only enter monthly items that have a filled date field, otherwise the contributions would be posted until the end of the following year, which may not be desirable.
Delete account entries
If you have entered the contribution allocation twice, you have the option of deleting account entries that have not yet been invoiced.
Please only delete 1 date at a time and print a sales statistic for this date beforehand to ensure that, for example, no instalment postings have been prepared on the same day that you want to keep.
ATTENTION: Beforehand a quick data backup beforehand!
Under Turnover/Annual accounts/ Delete account entries
Items with different VAT rates
If you have an item that has 2 different VAT rates, this is handled as follows
Please create a separate article for each VAT rate.
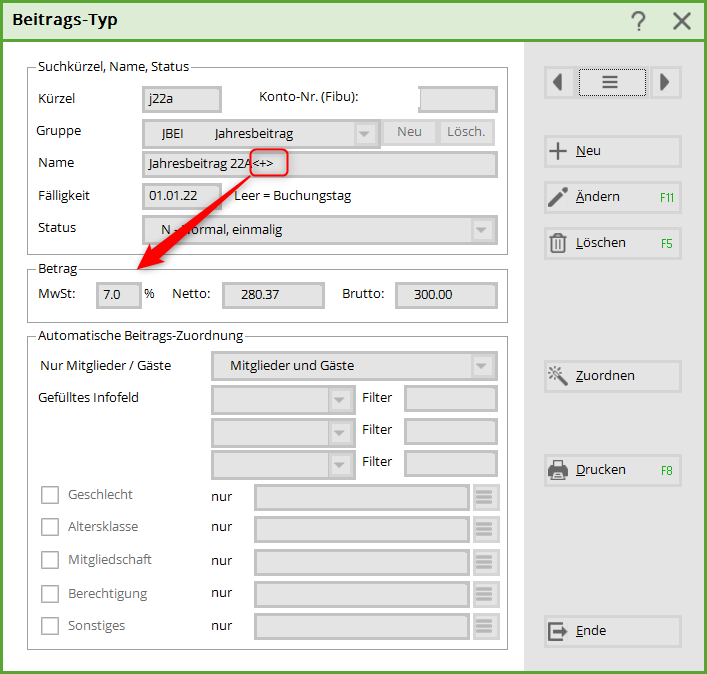
First article
The command must be entered after the name of the article: <+> must be entered after the name of the item. From this, Pc Caddie recognises that one or more further items follow
Second (each additional) item
Pc Caddie recognises the follow-up article by the #. 2x## for the 2nd, 3x### for the 3rd etc.
The account then looks like this
In the invoice, both articles are cumulated and the different VAT rates are shown.
Invoice with added main items and sub-items
- Keine Schlagworte vergeben

