Inhaltsverzeichnis

Order passes (Swiss Golf)
WHS - World Handicap System
Due to the changeover to the WHS, cards for 2021 can only be ordered once the handicaps have been converted by the association and the PC CADDIE update has been licensed. The period for ordering cards starts a little later than usual this year. There is no exact date yet (as of 3 November 2020).
Considerations
Before you start the PC CADDIE card order process, please consider the following:
- Am I the legal and authorised representative of the club and entitled to order passes from Swiss Golf?
- For which group of people would I like to order cards?
- Will non-resident members also receive a card?
- Has the annual update been installed?
Basic preparation for the annual order
Resignations
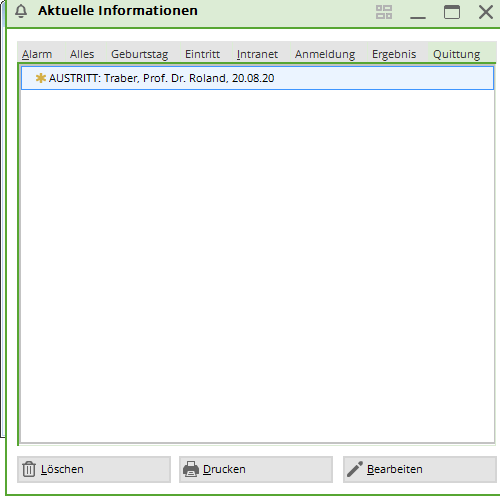
First enter the leaving date for all persons who are leaving or have already left:

New members
Enter all new members - if known - in PC CADDIE with their entry date and future membership characteristics:
Non-home members
For all non-home members, enter the home club for the following year. You can find more information on the topic of non-home members in the chapter Entering second members.
Functions in the club
Check whether the current function is entered for the club board:
can be found at address

In Switzerland, only two functions are included on the ID cards: President and Captain. All other functions in the club are not printed on the ID cards. Juniors are labelled „Junior“.
Junior on ID card
Juniors who are labelled as JUNIOR on the card according to Swiss Golf are automatically marked JUNIOR on the card. These are juniors up to the age of 18!
Exceptions
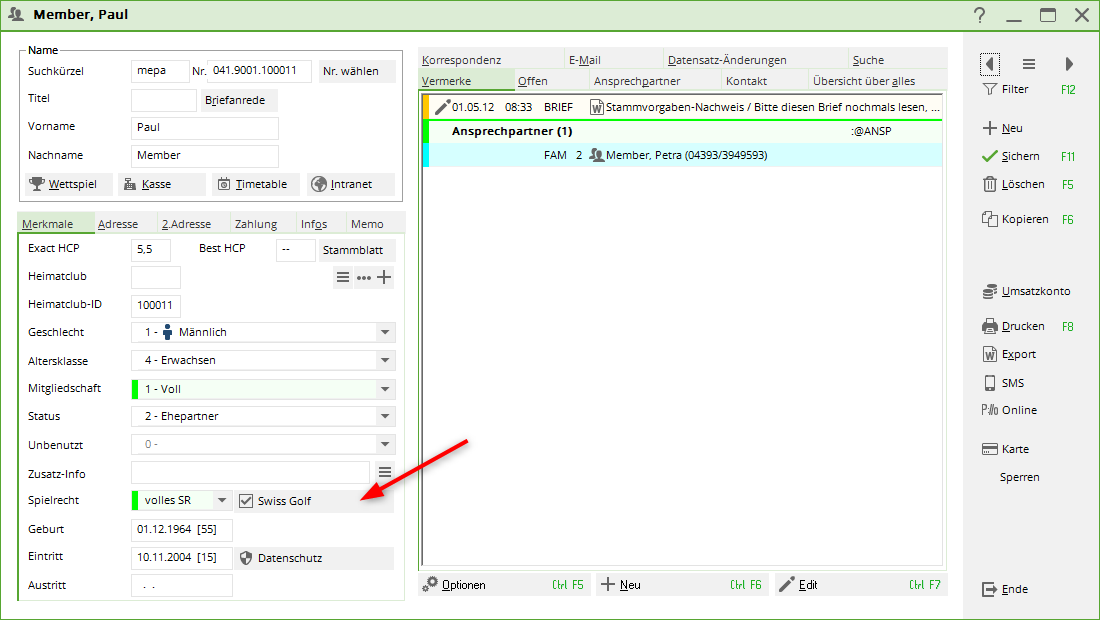
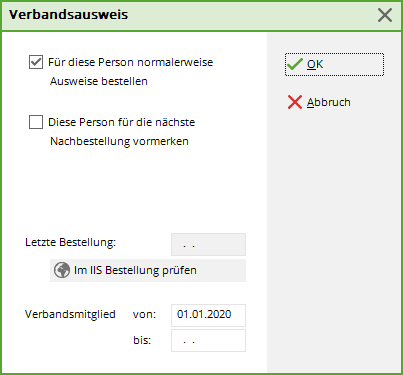
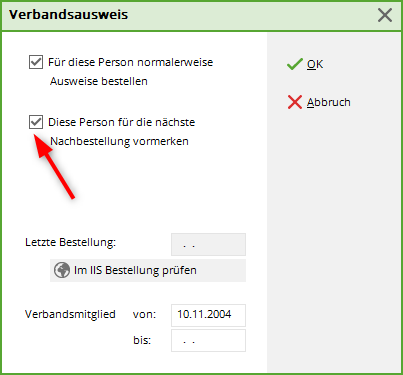
If, as an exception, you do not wish to order a card for a person, you can do so in the person mask after clicking on the Swiss Golf card the field Normally order badges for this person field. Normally, you do not need to change anything in this screen.
Check basic settings
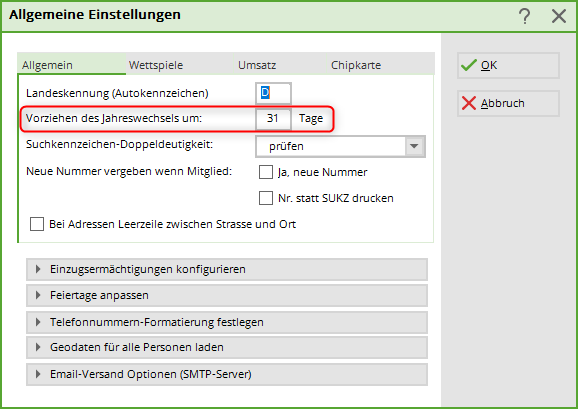
Now check your basic settings to see how many days in advance PC CADDIE recognises your new members and no longer takes your EXITS into account. To do this, go to the main menu and select Settings/Programme settings/General Einstellungen:
The decisive factor is the number of days in bringing forward the turn of the year:

PC CADDIE already recognises the new members on 4 December new members, who have an entry date up to 4 January of the following year and includes them in the „All members“ group. In addition, all resignations, that have a leaving date up to 4 January of the following year are no longer listed in the „All members“ group.
Setting the first annual order
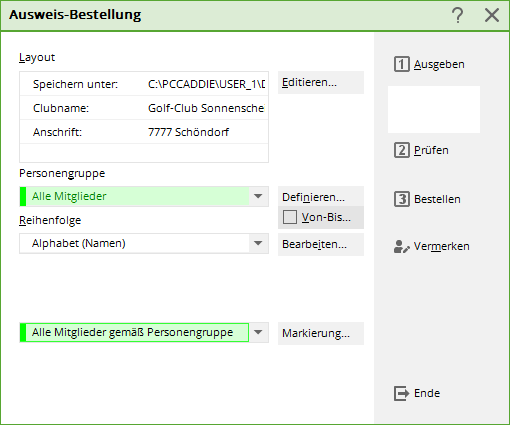
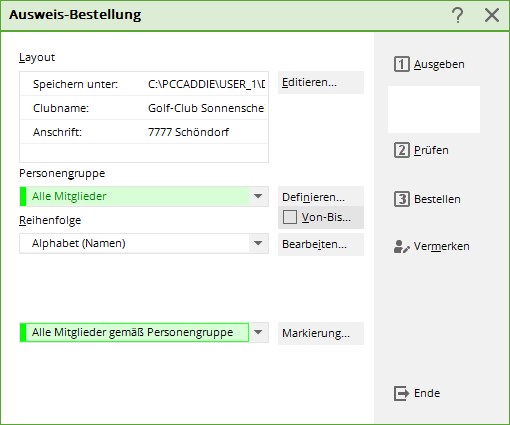
In the PC CADDIE main menu, select Order persons/passes (PC CADDIE should also be switched to the account area CLUB at the same time).
In this dialogue you determine the form in which the badge file is to be created.
Layout (Edit...)
By clicking on the button Edit button opens the settings of the badge file.
The contents entered here have been compiled from your details (in the main menu under Settings/Programme settings/Club address, bank details, (in the account area CLUB account area).

Once all details have been checked and selected correctly, finalise your entry with OK. The „Order ID card“ input window will now reappear on your screen.
Group of people
Normally, you can leave the person group „All persons“ activated here, as PC CADDIE already recognises which persons will receive a badge based on their membership status. For this reason, we ask that you only create your own filter in exceptional cases.
Order
Now determine the order in which the badge file should be created. You can activate the desired sequence by folding down the list. The badges will then be delivered to you in this order. The order „Alphabet (names)“ or „Postcode (postcode)“ is therefore useful.

Marking
Before ordering, please make sure that the option All members according to person group is activated.
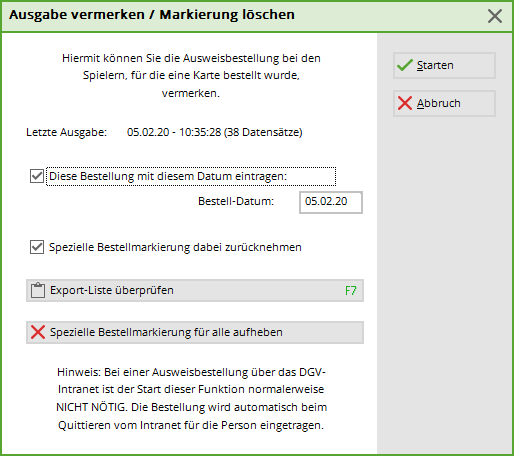
Via the button Marking… button, you can enter the date of the last order for all persons. This function dates back to earlier times; nowadays the order (date) is automatically entered for the person when confirming from the intranet.
With the button Cancel special order marking for all button, you can deselect all persons for the next repeat order.
Creation of intranet order data records
Once all settings have been checked, you can start ordering badges. To do this, follow the 3 steps for creating the intranet order data records. Don't worry, the badges are not definitively ordered until step 3. In the following process, you will have the opportunity to check your order data records, cancel them if necessary and delete them!
1 - Issue
Start the first step of the badge ordering process by clicking on the button  :
:
Confirm with Start file output.
Once the output has been completed, the number of people from the last output is displayed under the button.
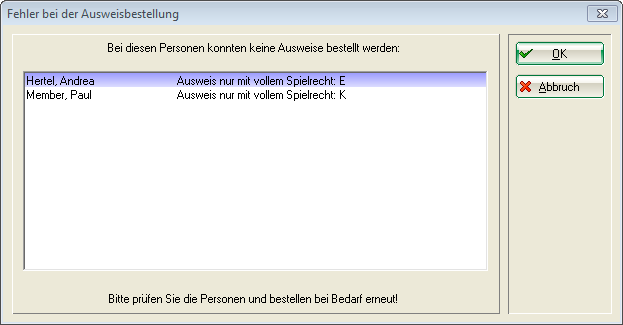
Passes only with full playing rights
When the file is issued, you will be informed directly for which members the passes cannot be ordered as they only have limited (E) or no (K) playing rights:
2 - Check
Check the content of the badge file in step 2. To do this, click on the button  :
:
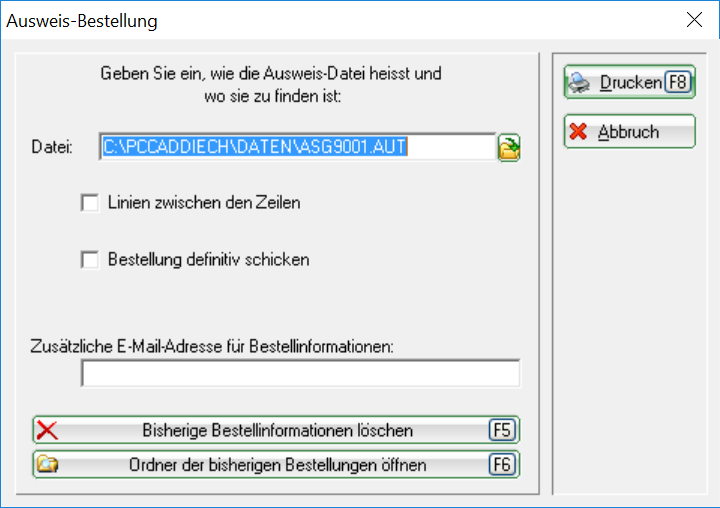
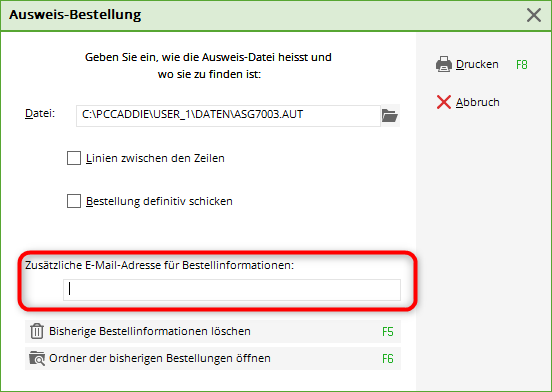
The file location is displayed in the following dialogue. As a rule, go directly to Print (F8).
Print out the file content on the printer. This gives you better control.

- …the club name and location are correctly and neatly distributed across the lines,
- …the serial number matches your number of members (No.),
- …the year of issue is correct (year),
- …the names appear correctly and completely, e.g. title (name),
- …the functions are up to date (Function),
- …the master handicap entries (HCP) are correct,
- …Swiss Golf and membership number are correct. (If the digits overlap, this is due to the font size setting. This is not important for the correct card order).
If all the details are correct, you can continue with step 3. Otherwise, please correct the relevant data as described above and then start again with 1 - Issue.
3 - Order
Start the order with step 3 and click on the button  :
:
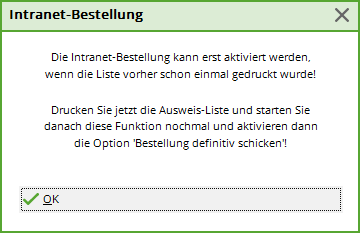
The same dialogue appears as in step 2 - Check. The difference lies in the additional activation of the option „Send order definitively“ and the button Order (in step 2 the button is called Check). Confirm the options by selecting the button Order.
Here you also have the option of entering another e-mail address which should also receive the information information on the status of the badge order:

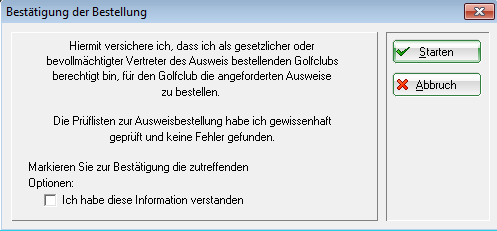
If you have activated shipping, this window will open:
Please read through the explanation, tick the box at the bottom and confirm the process in the top right-hand corner by clicking the Start. The printer selection window appears and you can print the list on the screen or on paper.
Now check the result of your work:

If the entries were correct, an intranet order data record was created for each person. Each data record is then labelled: „OK+B“.

If the country code or the Swiss Golf club number is incorrect for a person, no order data record will be created for this person. You will see „ERROR“:
Check the relevant personal data record and correct the country code or the Swiss Golf club number in the membership number if necessary. Start the card order again with Step 1 - Issue. If you find many „ERROR“ entries in the list, please contact PC CADDIE Support:

After correcting the personal data, you can place a new order for these persons only. To avoid any extra costs, please inform Swiss Golf Intranet Support immediately that an order is to be placed as an attachment to the initial order.
Dispatch and receipt
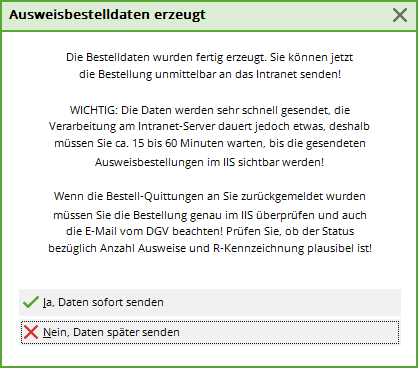
The following window opens immediately after printing the list in step 3:
Here you can choose whether the data should be sent immediately or only when the next intranet synchronisation is carried out.
After a successful order, you will receive a receipt in the info window under the heading Receipt you will receive a data record for each card ordered:
If you have any queries, you will also find the contact number for Intercard AG here:
- Intercard AG
Production Centre
Mr T. Zelenika or Mr S. Baumann
Schützenstrasse 19
8902 Urdorf
Tel: 043 455 75 55
Fax: 043 455 75 50
Note the badge order in the CRM/DMS
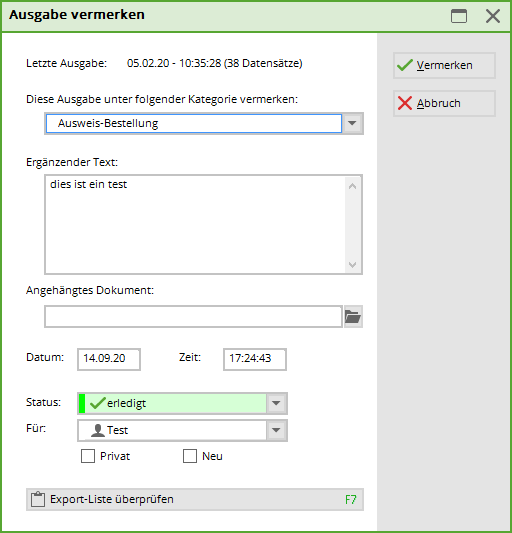
If you work with the module CRM\DMS , you can use the button Note button to make a note of the order for each person:
It is best to select „ID card order“ from the list and enter additional information if required or attach another document to the note. Once you have entered all the information, you can finalise the process with Note start the process.
Check order
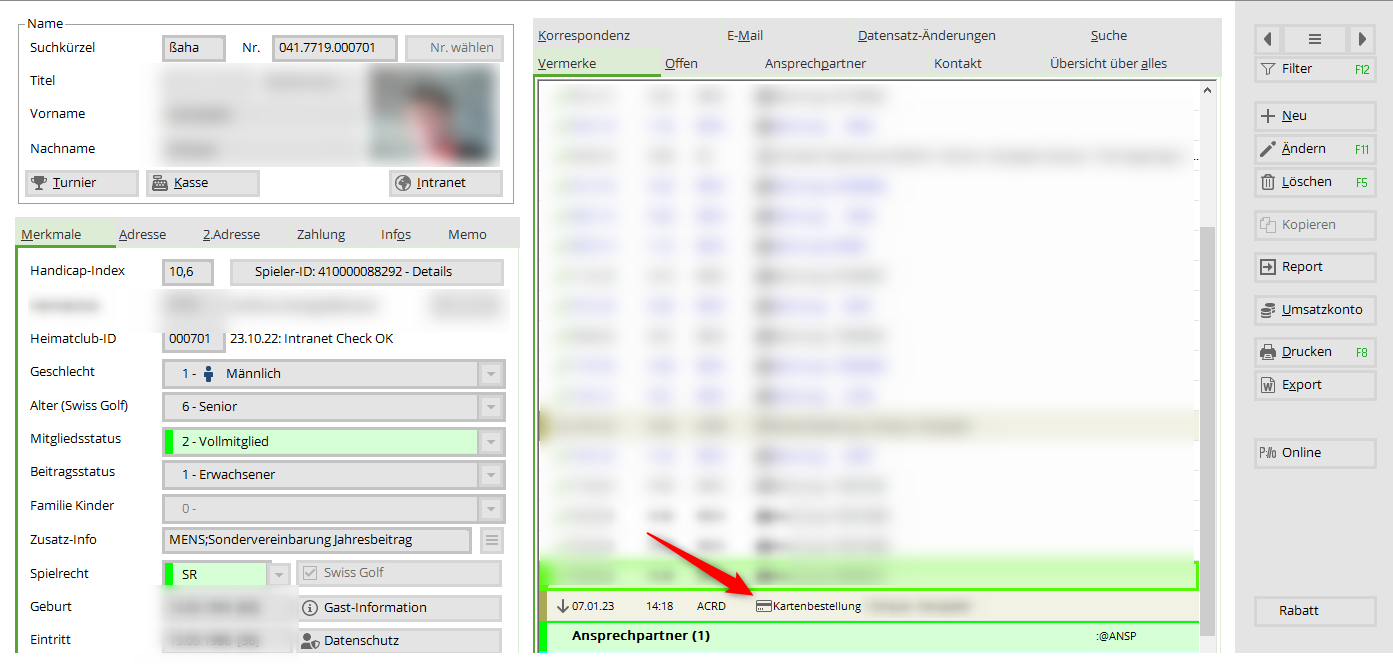
To check the order, you can check the status of the order for members in the CRM window:
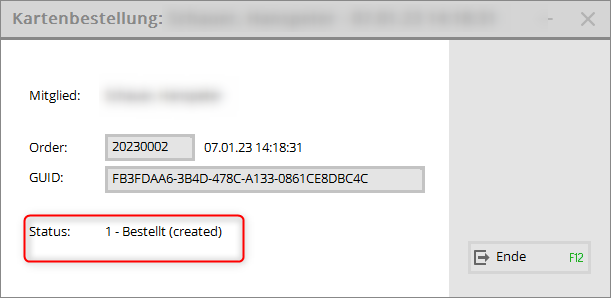
Double-click on the card symbol to obtain information on the status:
Reordering ID cards
The ordering process is similar to that described above. It is important that you click on Swiss Golf card and select the option Bookmark this person for the next repeat order option. Proceed in the same way with repeat orders: Simply activate this option in the person mask of the person concerned.
After activating the tick box, an asterisk appears in the person window  in front of the Swiss Golf card.
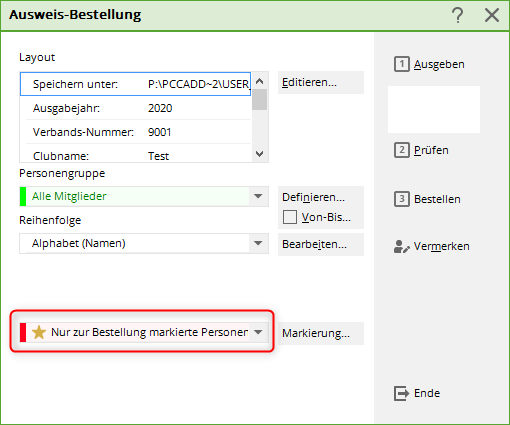
If you would now like to order the cards, you simply need to tick the option with the star when ordering the card. Only persons marked for ordering and then complete the card order as normal.
Customised badge name
Unfortunately, this option is not available in Germany and Switzerland. In Austria, however, individual names can be specified for the ID card order: Function in the club.
- Keine Schlagworte vergeben


