Inhaltsverzeichnis
Operating the cash register
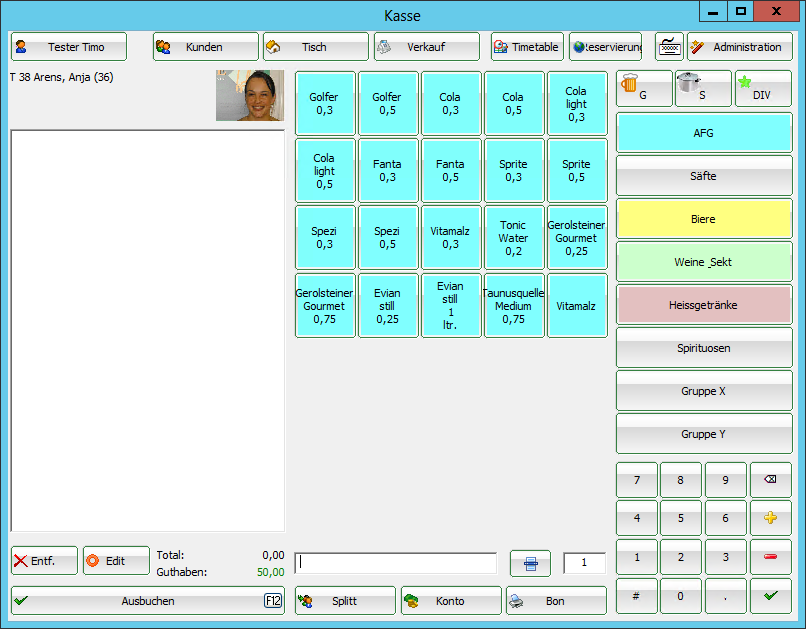
The central change is the creation of a head navigation with „Customer / Tables / Sales“. This creates space in the sales screen for a large number of quick selection items - the most frequent improvement requested by many customers. The head navigation also means that there is more space in the customer screen, e.g. for a directly displayed picture of a person, as well as a clear table plan. Additional buttons in the head navigation for the timetable (directly in the cash register view) and in the next version also for the online table book display from PCCO make the new interface even more clearly a specialised „golf catering cash register“.
Please switch to the cash register account area, e.g. GASTRO.
Now call up the cash register via the button Call up cash register button in the PC CADDIE toolbar or via Umsätze/Kasse:
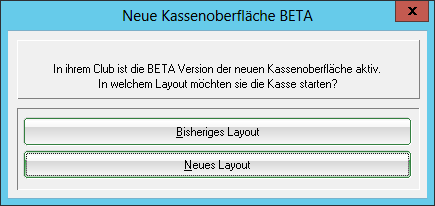
A query window opens asking which layout should be started; click on New layout to start the new interface:
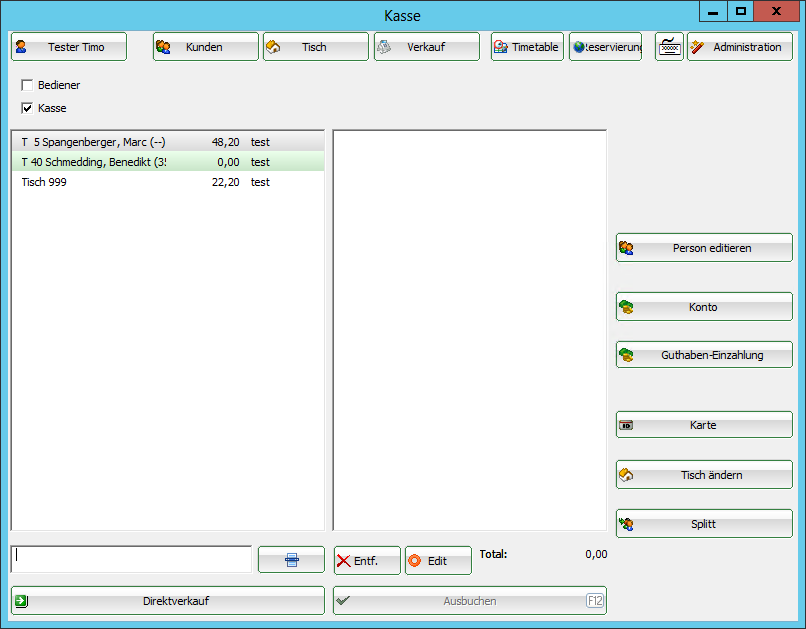
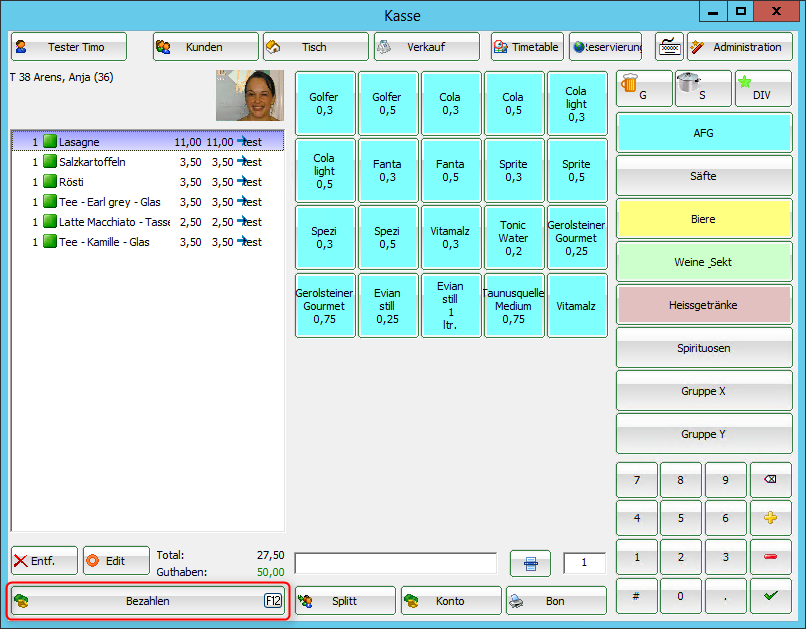
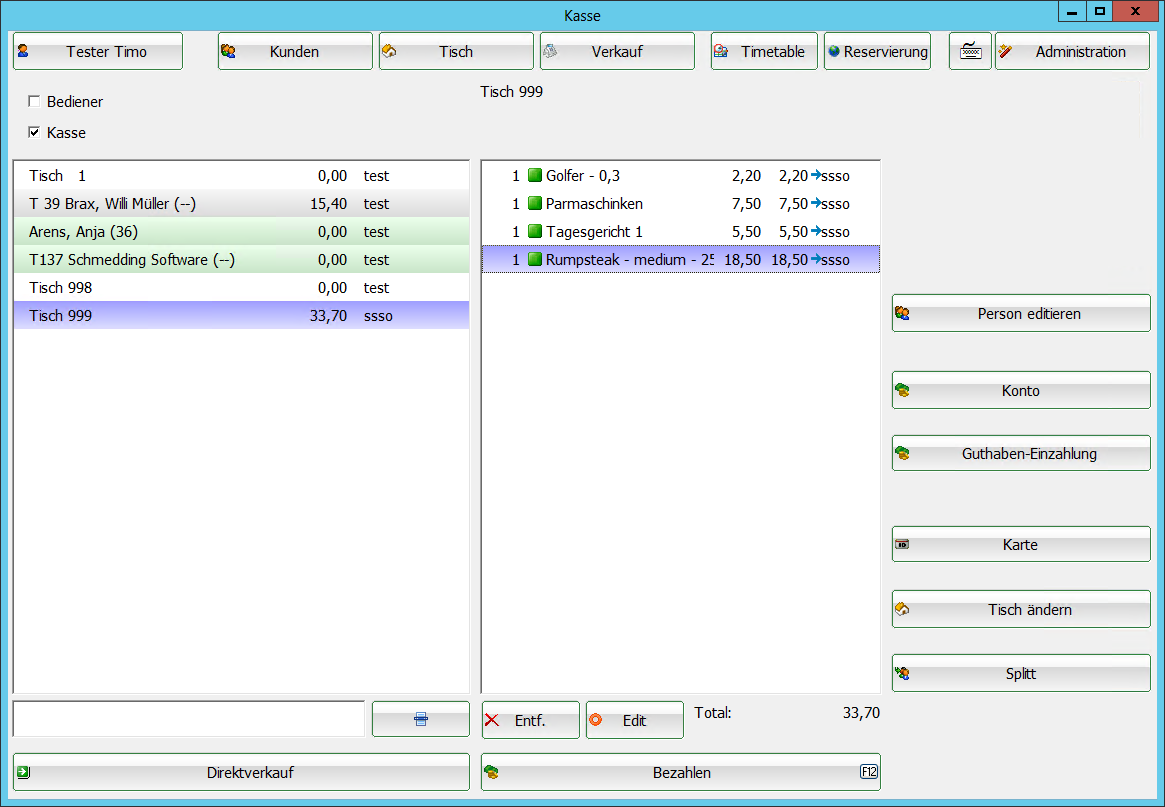
The opened cash register window looks like this:
Customer level
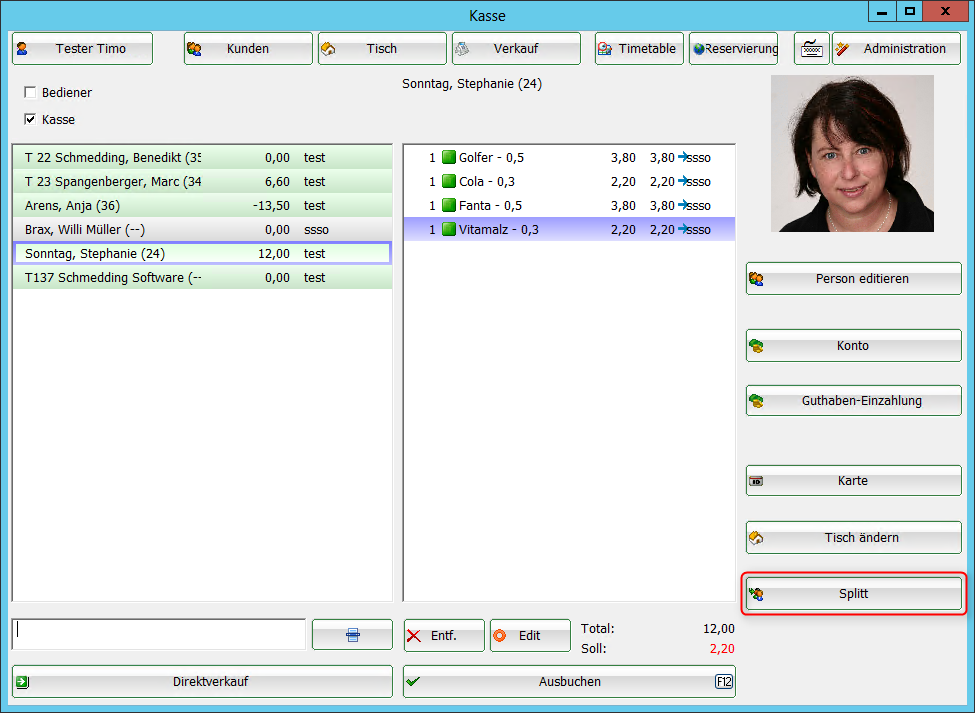
Here you can edit the previously selected person or the turnover or clearingaccount open. Deposit credit or cardtop up credit. Also change the change the table or the article bookings split.
Select customer
Enter the search abbreviation of your guest, the full name or just part of the name in the field at the bottom left and the matching persons will be displayed. Another option is the list function button to the right. If you have a magnetic card reader, you can swipe the magnetic strip of a DGV card and the customer will be dialled immediately. The same applies if you have a Mifare reader.
If the person does not yet exist in PC CADDIE, they are entered with Create new person to create it. If you do not want to create the person separately, e.g. for the sale of a muesli or chocolate bar, click on the button Direct sales. Alternatively, you can also go to the table plan and book a table directly.
Once you have selected your guest, the table enquiry opens. Here you can either click directly on the table on the table plan or click on the top left on the button Enter number enter the number as usual.
Once the table has been selected, PC CADDIE switches to the sales level.
To create table plans with the graphic editor
Sales level
There are several options for item selection in the input field:
- Enter the article number of the article
- Enter the description of the item or just part of the description
- Button list function (F2)
- For existing labels with barcode by scanning the item
After OK the item is immediately posted to the cash register. After the selection, you can change the quantity in the number field accordingly.

Pay for articles
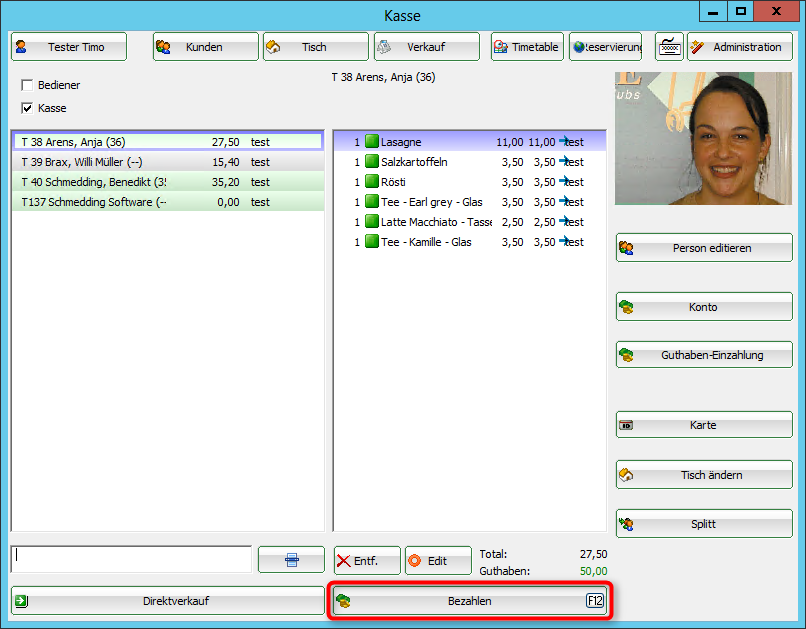
You start the payment process by clicking the button Pay (F12). This button is available at both the customer level and the sales level.
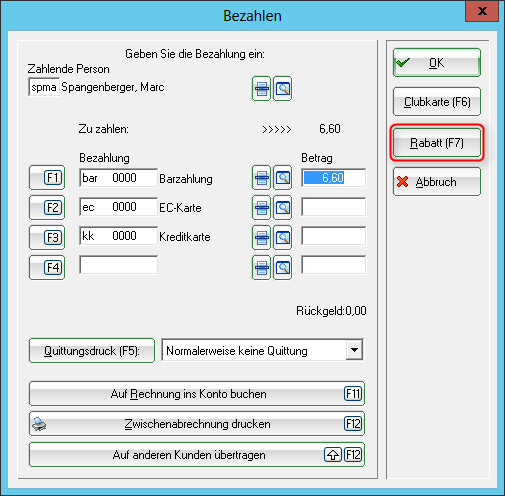
The payment window looks like this:
- You now select the desired payment method by placing the cursor in the corresponding field, the amount changes immediately. You define which payment methods are available for selection in this payment window at another point: Payment methods
- Set the receipt print according to your requirements.
- The function Post to invoice to account function can be found in the next chapter.
- Prints an interim statement without finalising the payment process.
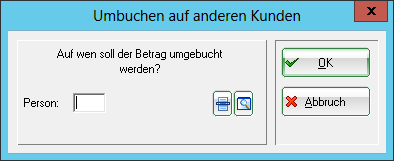
- Here you have the option of transferring the payment to another person. You will see the following window:
By entering the corresponding person, the payment for this person is booked.
Click OK, the payment process is completed.
Post to account
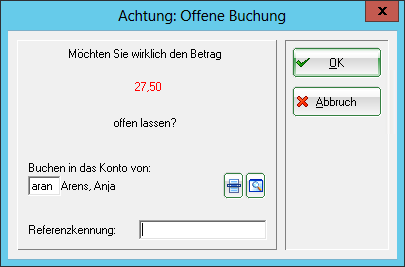
You can use this function to leave postings open in the accounts (open item postings). Payment can be made at a later date. If you click on this button during the payment process Post to invoice to account you will see the following window:
With OK the booking is finalised.
If you select this customer later in the cash register, the open balance is displayed in red or a credit balance in green on the right above the Pay button.
If you have installed a so-called OP area, the booking is automatically transferred to this area. Please contact PC CADDIE Support for the installation of this special account area.
Post as tip (tip)
There are several options here.
1st possibility: A guest gives a tip
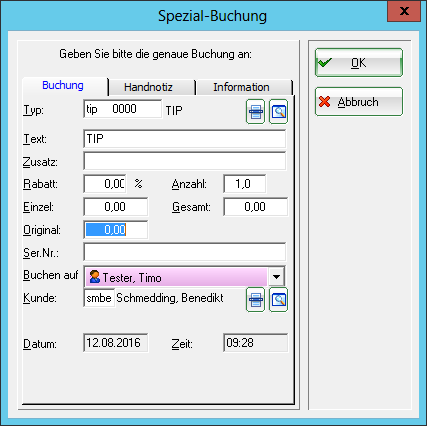
To do this, book the article (artikel ) Tip in the cash register
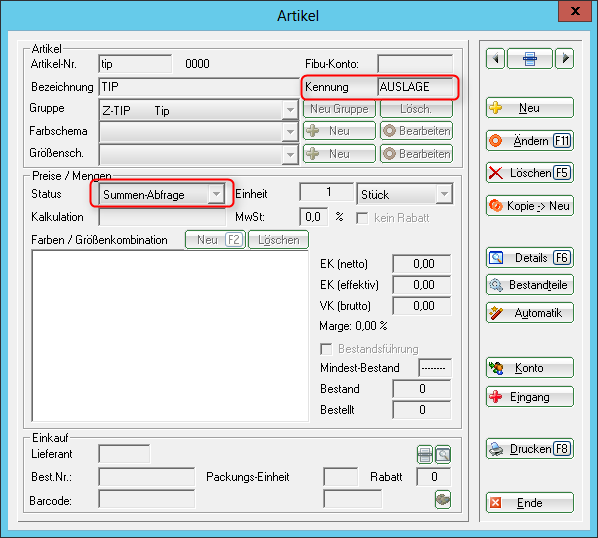
When the article is selected, the following window opens.
Here you enter the amount that was given as a tip, confirm with OK and then click on pay.
2nd option: A guest pays his bill and gives a tip
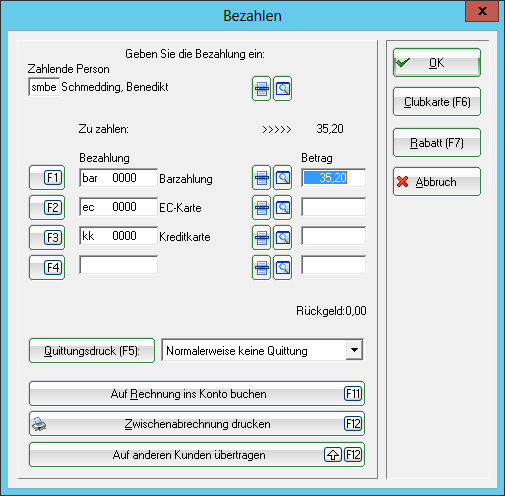
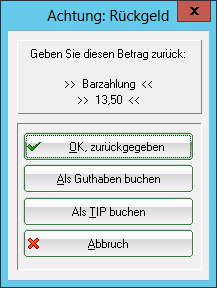
The guest must pay €35.20 and gives €40.00. Click normally on the button Pay. The following window opens. Here you enter 40,00 €.
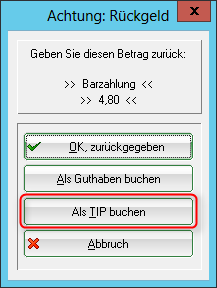
Click on Ok and then Book as a tip.
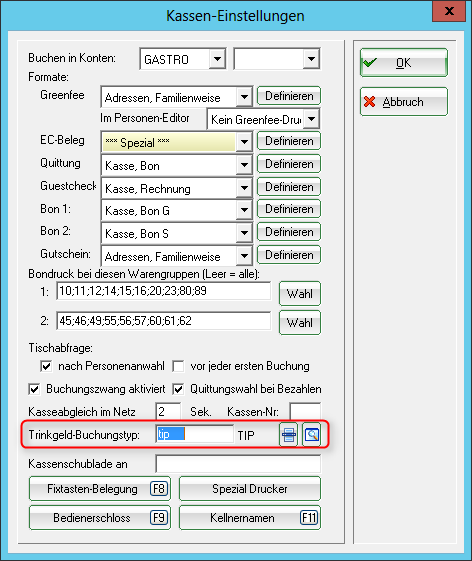
If the button is missing in the window, the article is missing in the basic settings of the cash register. This takes you to the basic settings. 1 - Button Administration2 - Cash register settings, basic settings, tip booking type: tip (select the corresponding article here).
3rd possibility: A guest still has credit in the account, e.g. through Consumption flat rates and wants to give the credit as a tip
As with point 1, book the tip item in the cash register, enter the desired amount and then click on pay. If the amount is posted to the account as an invoice, the credit balance is reduced and deducted from the cash receipts by the ID OUTPUT.
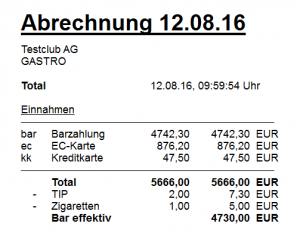
The tip posted is always shown on the daily statement.
Cancel article / wrong payment method selected
You can cancel an article booking that is still in the cash register using the Cancel. (F5)  button.
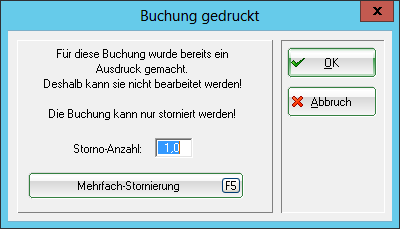
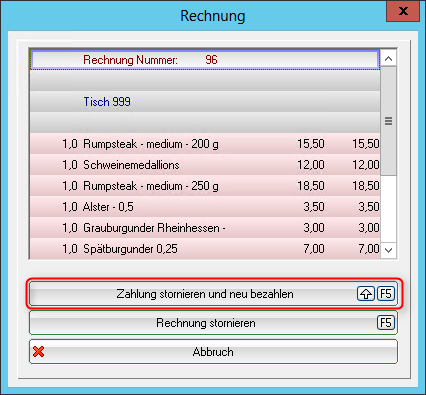
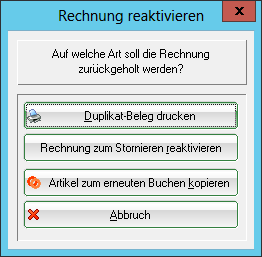
You can only return a booking completed by payment to the cash register via a cancellation process if a daily closing has not yet been created. Switch to the administration level at the top right  . Select Repeat / Cancellation (F4) . In this window you will see all bookings made. Select the booking to be cancelled and click on Cancellation (F5). You receive the following selection:
With Cancel payment and pay again the booking is returned to the cash register for further processing.
You have the option of cancelling the item bookings (see above) and/or adding further bookings.
Or if an incorrect payment method has been selected, you can start the usual payment process; the previous process has been cancelled completely.
Cancelling items after the daily closing
Working with the archive button
As soon as a daily closing has been carried out, all processes are completed and can be cancelled under the button Repeat / Cancellation button is no longer visible. However, you can still view them there using the Archive button to retrieve the posting to the cash register.
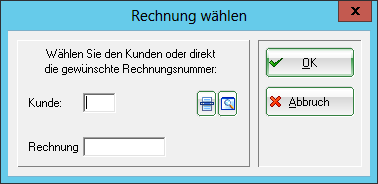
After entering the customer and the invoice number, which must be selected in advance from the account entries, the following window opens:
(You can also just enter the customer, in which case another window will appear where you can select the desired document).
With Reactivate invoice for cancellation to bring the entire booking back to the cash register. You can now cancel the item bookings. This is particularly practical for event invoices, as you don't have to remember all the items. If there are only a few items, you will see another option for cancelling below.
Working with a minus number
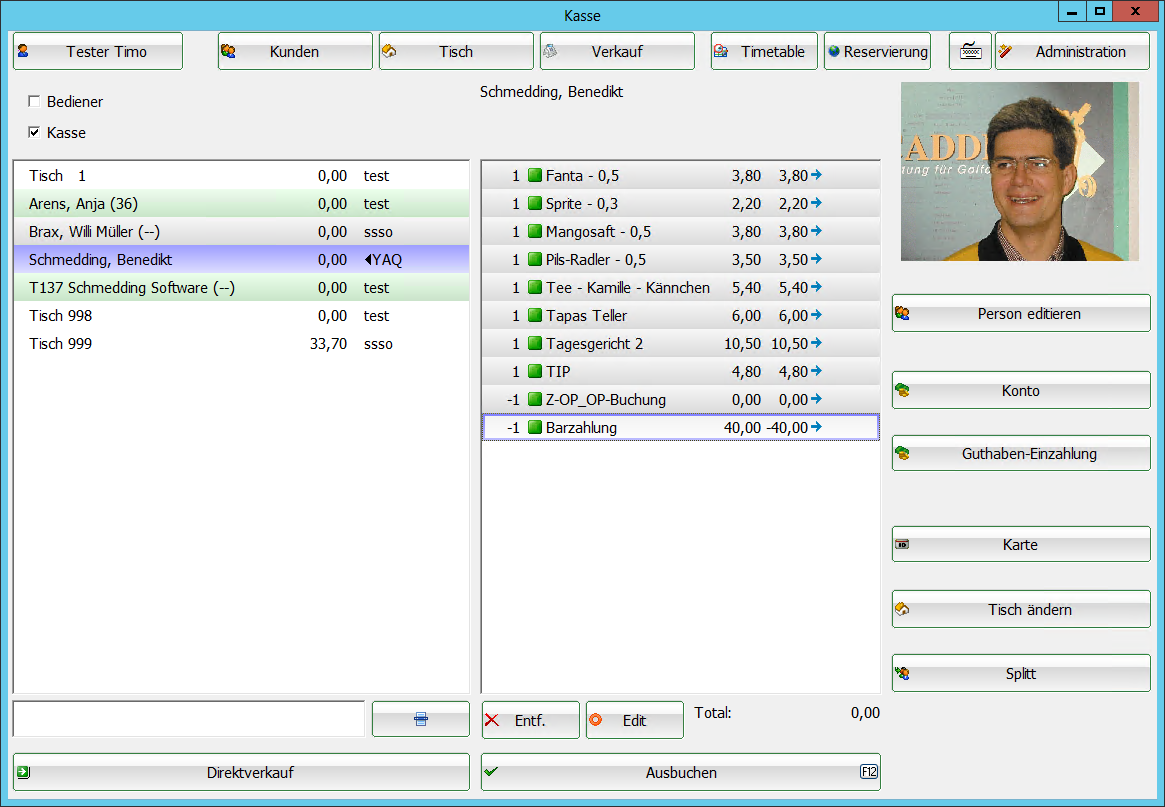
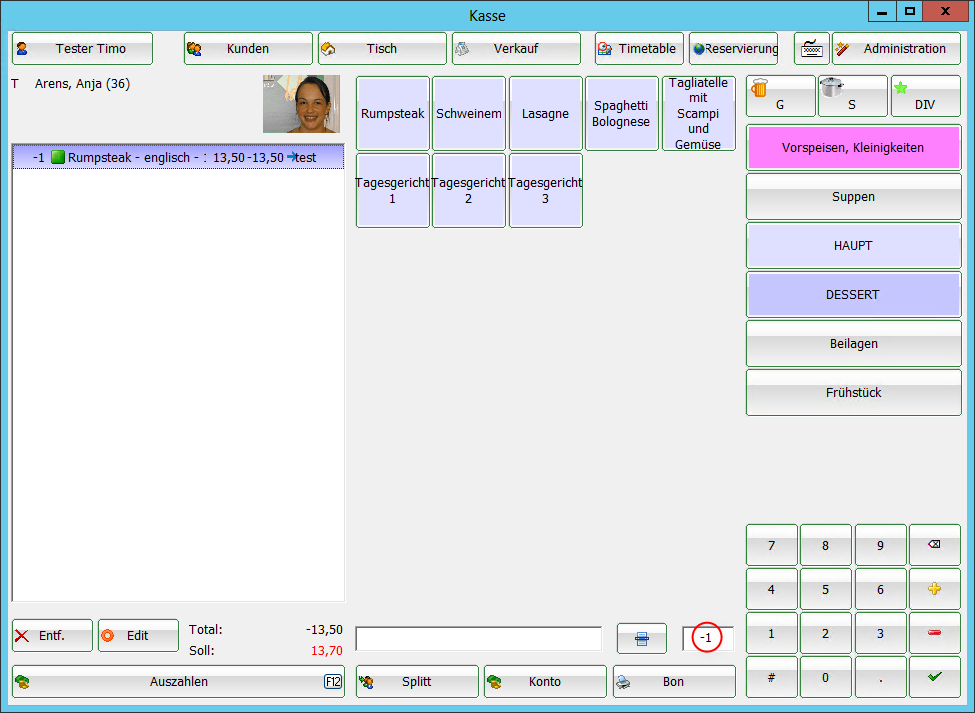
Another cancellation option is to work with a minus sign, i.e. a negative quantity. Select the customer again in the cash register, post the article that is to be corrected and enter the corresponding correction number with a minus sign in the field for the number, for example „-1“:
Confirm your entry with Tab or Enter. To finalise the booking, select Pay out and the corresponding payment method in the payment window. Or Post to account, to get the following option:
With Book as credit this amount remains with the customer as a credit.
Discount article
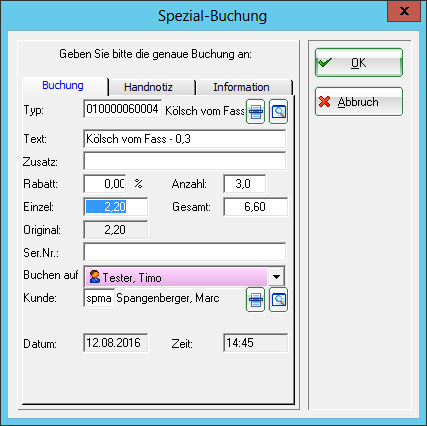
As long as the receipt printout has not yet been triggered, you can use the Edit (F7)  button to change the item for this booking.
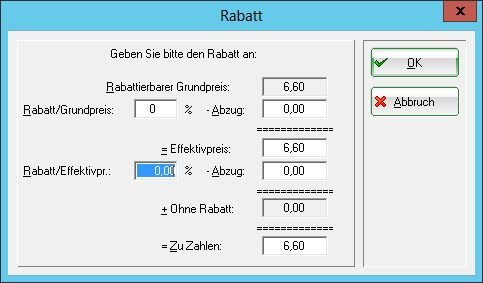
You can now enter a discount percentage if you want to give 10%, for example. Or change the individual price if, for example, you want the item to be 20 cents cheaper. Or change the total price if you want to reduce it by a certain amount, for example.
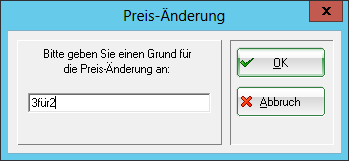
With OK PC CADDIE asks for a reason for the price change:
This reason is displayed on your receipt printout. You will then see the new item price in the checkout.
If the item has already been booked or the guest receives a total discount of 10% on everything, select the button discount button when paying.
The amount to be paid is calculated automatically when the discount is entered. Click OK to finalise the booking.
Split function
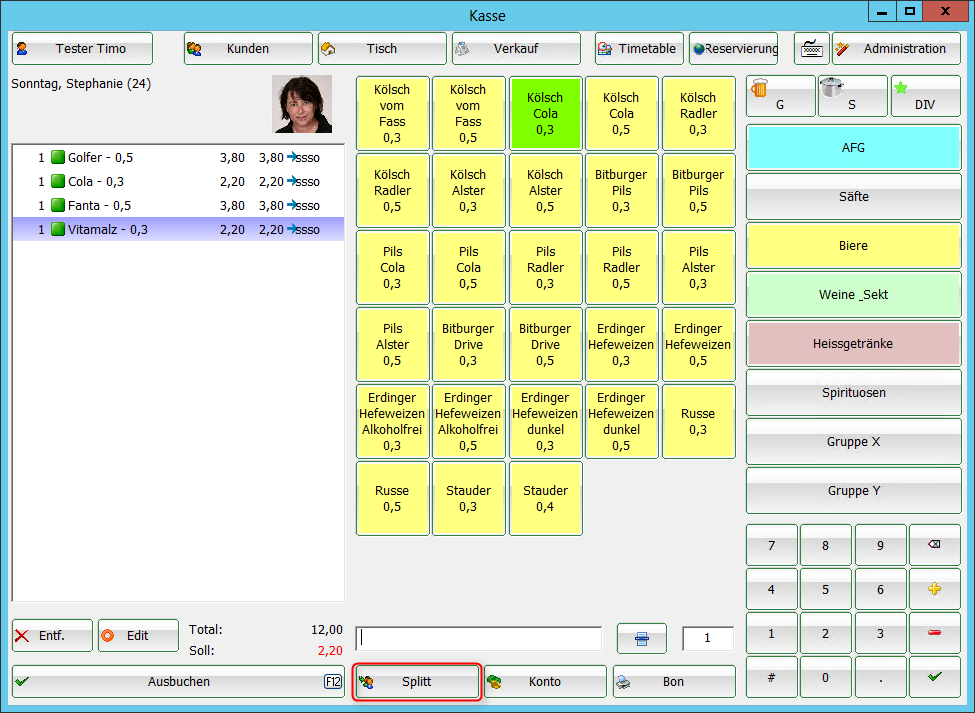
In the catering industry, it is often the case that all orders are first booked for one person or table and then split later when paying. There is a button in the catering checkout for this purpose Split (F6). This button is available at customer level,
as well as at the sales level.
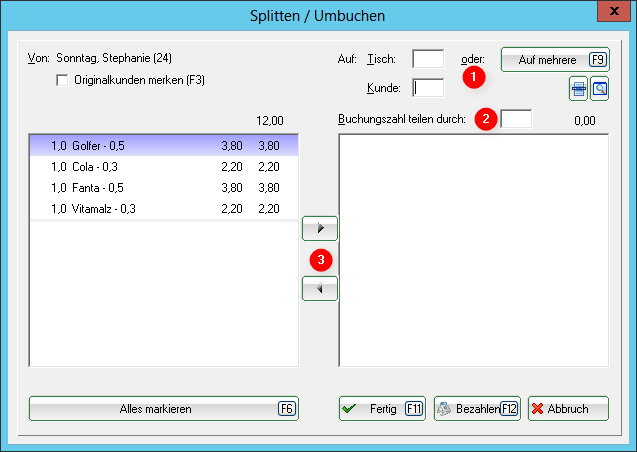
- Select a table number, a customer or via the button To several persons already called up in the cash register
- You can now divide the total amount by a certain number
- or use the arrow buttons to transfer the desired items to the previously selected customer or table
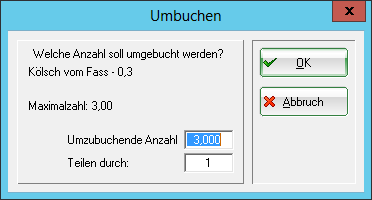
If the number of items is two or more, a query window opens in which PC CADDIE asks you which number you would like to transfer or divide.
Transfer open tables or guests to another operator
You have the option of transferring your open tables or customers to another operator at shift change or at the end of the working day. Select the table you want to transfer and press the SHIFT and F9 keys on your keyboard.
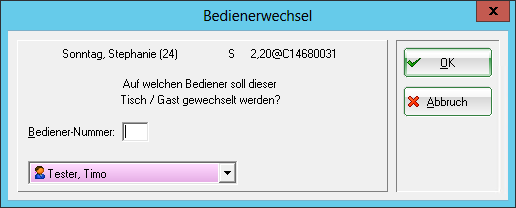
Then select the operator to whom it is to be transferred. Repeat this for each table that is still open.
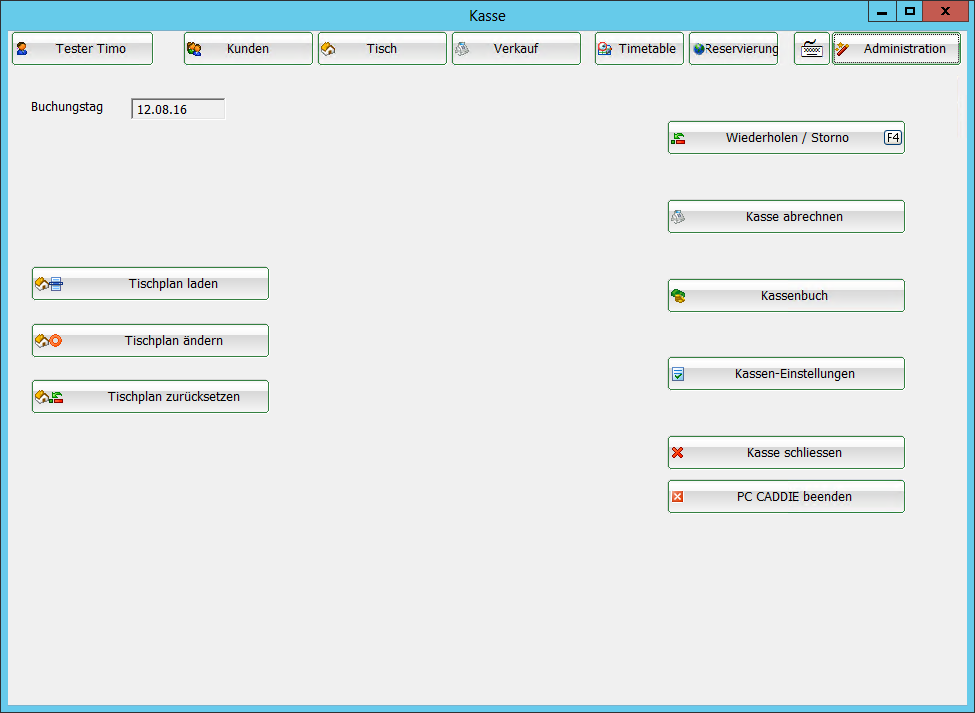
Administration level
The individual functions/buttons can be blocked depending on the user rights.
Here you can change your table plan, for example to move your tables to their current position.
You will also find access to the Repeat/cancellation, Cash register accounting, Cash book, Cash register settings, Close cash register and Exit PC CADDIE functions here.
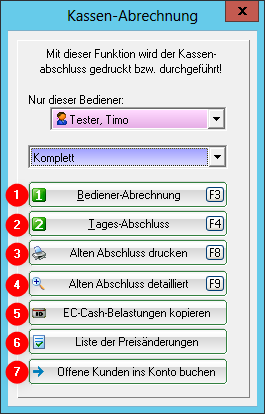
Operator accounting and daily closing
Working with the cash book
Via the button Cash book button in the administration level takes you to Cash book .
Open item postings
Edit quick selection
- Keine Schlagworte vergeben


